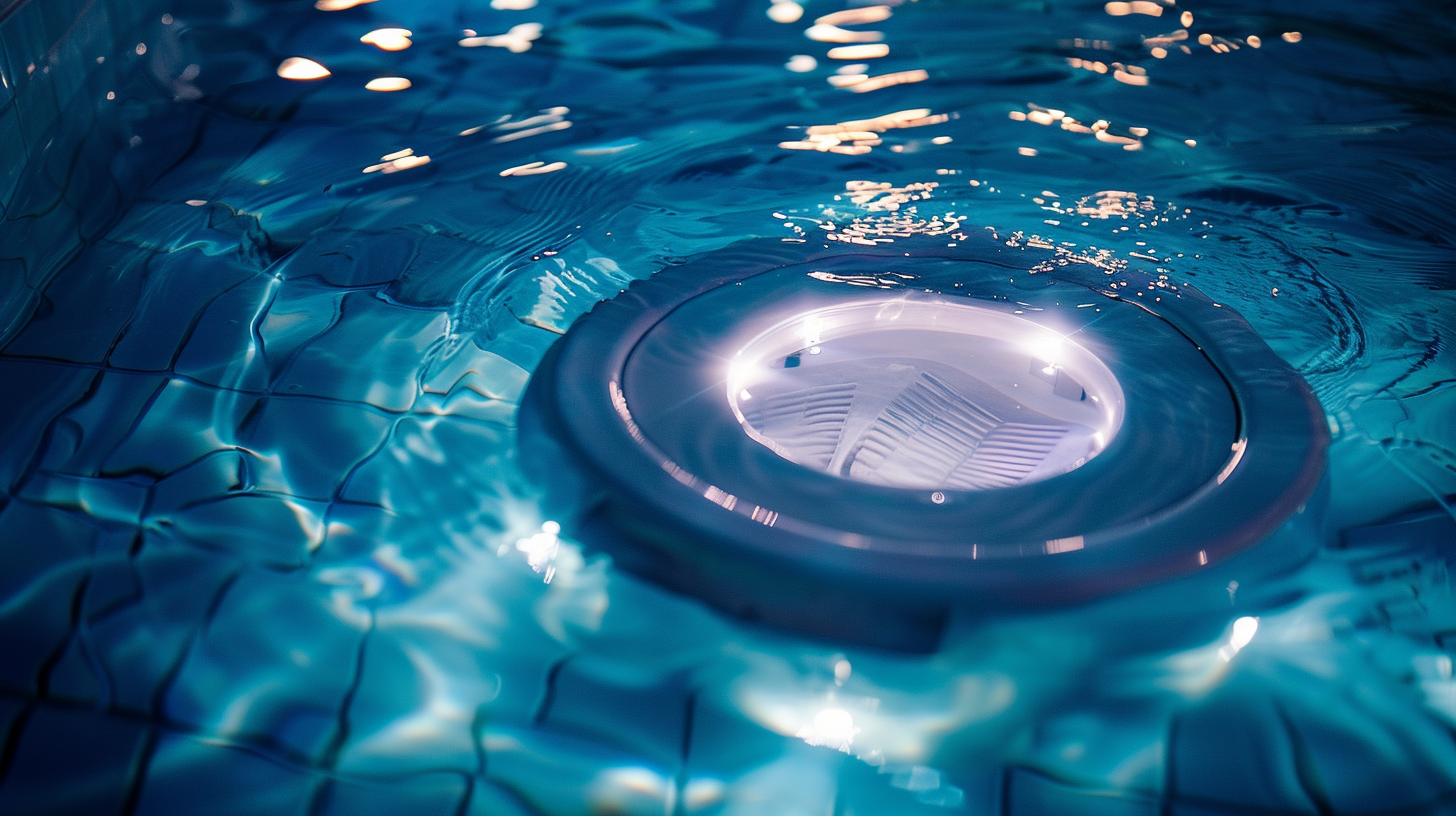
Waterproofing your underwater pool lights
When it comes to ensuring the longevity and safety of your pool setup, few aspects are as critical as waterproofing your underwater pool lights. Think about it: electricity and water are a notoriously hazardous combination. Without proper waterproofing, you’re not just risking the functionality of the lights, but also creating a potential safety hazard for swimmers.
Imagine diving into a beautifully illuminated pool—only to find that some lights have flickered out or, worse, noticing an ominous electric current. Correctly installed waterproof lights don’t just ensure a magical nighttime swimming experience; they also safeguard against electric shock, which can be life-threatening. On top of that, waterproofing helps to preserve the lifespan of the lights themselves, protecting them from corrosion and water damage.
But the importance of waterproofing extends beyond just safety measures. Have you ever had to replace a submerged pool light? It’s not just costly; it’s time-consuming and requires draining water, which is an added hassle. Ensuring that your underwater pool lights are thoroughly waterproofed can save you the headache of frequent repairs and replacements.
So, the next time you’re thinking about a pool renovation or new installations, remember that giving attention to the waterproofing of your underwater pool lights is not just an extra step—it’s an essential one. It adds a layer of security, preserves the beauty of your pool, and ultimately, creates a safer environment for everyone.
Identifying common waterproofing issues
Before diving into the waterproofing process, it’s essential to identify common issues that could potentially undermine your efforts. One of the most frequent problems is faulty seals. Over time, the seals around your underwater pool lights can deteriorate due to prolonged exposure to water and pool chemicals, allowing moisture to seep into the light fixture. This not only compromises the effectiveness of the waterproofing but can also lead to electrical shorts and corrosion, which are both unsafe and costly to repair.
Another common issue is cracks in the light fixture or the housing. Tiny fissures may not be noticeable at first, but they can gradually expand, creating pathways for water to penetrate the system. This problem can be exacerbated by temperature fluctuations, which cause materials to expand and contract, further weakening the structure. Pool lights installed in areas with frequent freeze-thaw cycles are particularly vulnerable to this type of damage.
Improper installation is another culprit behind failed waterproofing. If the lights are not installed correctly, even the best seals and materials won’t protect them. Misalignment of fixture components can create gaps, while insufficient tightening of screws and bolts can leave the system prone to leaks. To avoid this, always follow the manufacturer’s instructions meticulously, and consider consulting a professional for installation if you’re not confident in your DIY skills.
Lastly, environmental factors can also cause havoc with your underwater lights. High chlorine levels, for instance, can degrade the materials used in the seals and the housing. This is why it’s important to regularly check the chemical balance of your pool. Additionally, some pools are more prone to algae and mildew, which can build up around the light fixtures, compromising the seals and increasing the risk of leaks.
Understanding these common issues is the first step toward effective waterproofing. By identifying possible weak points, you can take proactive measures to address them before they lead to more severe problems. So, grab your magnifying glass and become a pool light detective; pinpointing these issues early can save you a lot of trouble down the line.
Materials needed for waterproofing
With the potential pitfalls of waterproofing underwater pool lights in mind, the next step is gathering all the necessary materials. First and foremost, you’ll need high-quality waterproof seals or gaskets. These are typically made of rubber or silicone and are specifically designed to withstand prolonged exposure to water and pool chemicals. It’s crucial to choose seals that are compatible with your particular brand and model of pool lights to ensure a snug, watertight fit.
Next, waterproof electrical tape is an indispensable item. This specialized tape creates an additional barrier against moisture and is particularly useful for sealing connections and small openings that might be missed by the primary gaskets. It’s a quick and easy way to add another layer of protection to your waterproofing efforts.
You’ll also require a waterproof adhesive or sealant. This product comes in handy for sealing gaps between the light fixture and the pool wall. Make sure to pick one that’s designed for underwater use; these adhesives are formulated to bond well and remain effective even when submerged for extended periods. It’s an extra measure that guarantees no water seeps into places it shouldn’t.
A set of screwdrivers and wrenches are essential tools for removal and reinstallation of the pool lights. Some fixtures require specific tools, so check with your light’s manufacturer to ensure you have everything you need. These tools will help you securely fasten the lights, ensuring no gaps are left for water to sneak in.
Another vital component is a waterproof connection box or conduit. This will house the electrical connections and keep them insulated from water. Many waterproof connection boxes are designed to accommodate a range of wire sizes and types, making them a versatile addition to your waterproofing toolkit.
Additionally, you’ll need cleaning supplies like alcohol wipes and a scrub brush. Before you start the waterproofing process, it’s important to thoroughly clean the areas around the light fixtures. Removing any dirt, algae, or debris ensures that the seals and adhesives bond properly, giving you an optimal waterproof barrier.
Last but not least, consider investing in a few replacement parts like O-rings or even an extra light fixture, just in case something goes amiss. Having these on hand can save precious time and frustration, ensuring that your pool lights remain in top-notch condition.
With these materials at your fingertips, you are well-prepared to tackle the task of waterproofing your underwater pool lights. Taking the time to gather these supplies ensures that you won’t have to scramble to find them mid-project, allowing you to focus on getting the job done right the first time. Happy waterproofing!
Step-by-step waterproofing process
The waterproofing process is crucial for ensuring that your underwater pool lights function correctly and remain safe. Follow this detailed step-by-step guide to successfully waterproof your pool lights.
1. Turn Off Power
Before you start, ensure the power to your pool lights is switched off at the circuit breaker. This is a critical safety step to prevent any electrical hazards.
2. Remove the Light Fixture
Using the appropriate screwdriver, carefully remove the underwater light fixture from its housing. Place the screws in a safe spot where they won’t get lost. Gently pull the fixture out of the water without yanking the wires.
3. Clean the Area Thoroughly
Use alcohol wipes or a scrub brush to clean the light fixture and the housing thoroughly. Remove any algae, dirt, or debris. A clean surface ensures that seals and adhesives will bond accurately, creating an effective waterproof barrier.
4. Inspect the Seals and Gaskets
Carefully inspect the existing seals and gaskets for any signs of wear or damage. If you notice any cracks, breaks, or signs of deterioration, replace them with new, high-quality rubber or silicone seals that are compatible with your fixture.
5. Apply Waterproof Adhesive or Sealant
Apply waterproof adhesive or sealant around the edges of the light fixture and the point where the wires enter the fixture. Use a generous amount but be careful to avoid excessive application. This adhesive will provide an additional layer of protection against water penetration.
6. Reassemble the Fixture
Once the adhesive has been applied, reassemble the light fixture. Ensure that the seals are correctly aligned and seated tightly against their mating surfaces. Use your screwdriver to fasten the screws securely, but be cautious not to overtighten, which could damage the seals or fixture.
7. Seal Electrical Connections
For added waterproofing, wrap the electrical connections with waterproof electrical tape. Ensure that all wire nuts and connections are completely covered. For optimal results, use a waterproof connection box or conduit to house these connections, keeping them insulated from water.
8. Test the Fixture Before Reinstalling
Before you reinstall the fixture into its housing, perform a quick test to ensure that everything works correctly. Briefly turn on the power and check the light. If the light doesn’t come on, disconnect the power immediately and recheck your connections.
9. Reinstall the Light Fixture
Once you’ve confirmed the fixture works, carefully lower it back into its housing. Align it accurately with the mounting bracket and secure it with screws. Double-check to ensure there are no visible gaps around the fixture where water could seep in.
10. Final Inspection and Adjustment
Give the entire setup a final inspection. Look for any signs of misalignment or loose screws. Ensure that all seals and connections are tight and positioned correctly. If everything looks good, proceed to turn on the power and test the lights again.
| Step | Task |
|---|---|
| 1 | Turn Off Power |
| 2 | Remove the Light Fixture |
| 3 | Clean the Area Thoroughly |
| 4 | Inspect the Seals and Gaskets |
| 5 | Apply Waterproof Adhesive or Sealant |
| 6 | Reassemble the Fixture |
| 7 | Seal Electrical Connections |
| 8 | Test the Fixture Before Reinstalling |
| 9 | Reinstall the Light Fixture |
| 10 | Final Inspection and Adjustment |
Following these steps meticulously ensures that your underwater pool lights are properly waterproofed, safeguarding them against moisture infiltration and enhancing their longevity. Proper waterproofing not only keeps your pool lights functional but also maintains a safe swimming environment.
Maintenance and troubleshooting tips
Ensuring the longevity and optimal performance of your waterproofing efforts doesn’t end once your pool lights are securely in place. Regular maintenance and prompt troubleshooting are key to keeping those underwater lights shining brightly and safely.
Start with a routine inspection schedule. Every few months, visually check the pool lights for any signs of wear and tear. Pay particular attention to the seals and gaskets; if you notice any cracks or discoloration, it might be time for a replacement. Regularly scheduled checks help catch minor issues before they become major headaches.
If you observe any flickering or dimming of your underwater pool lights, it’s time to take a closer look. A flicker could be a signal that water has infiltrated the fixture or the electrical connections. Cut the power supply immediately to avoid electric shock, and proceed to inspect the light and wiring. Remove the fixture from the pool and check all seals, gaskets, and connections for any water damage or looseness.
Algae and debris can also compromise your waterproofing over time. Algae tends to build up around light fixtures, making it important to regularly clean the fixtures and surrounding areas. Use a soft-bristle brush and a mild cleaning solution to scrub away any algae or grime. Make sure to clean out any crevices where dirt might accumulate and cause future issues.
Monitoring your pool’s chemical levels is another crucial aspect of maintenance. High chlorine levels or imbalanced pH can degrade seals and other materials involved in the waterproofing of your pool lights. Make a habit of checking chemical levels regularly and adjust as necessary to keep them within recommended ranges. Balanced water means a longer lifespan for your waterproof sealing materials.
For those who live in areas that experience freeze-thaw cycles, it’s particularly important to inspect your pool lights before the colder months set in. Frozen water can expand within the light housing and compromise seals, leading to leaks when the ice thaws. Winterizing your pool includes making sure that your pool lights are well-protected; consider using a pool cover and lowering the water level if necessary.
If an issue persists or if you’re unsure about the state of your waterproofing, don’t hesitate to consult with a professional. Sometimes problems aren’t visible to the untrained eye, and a professional inspection can provide you with peace of mind and potentially save you from expensive repairs down the road.
Lastly, always have a backup plan. Keep extra seals, gaskets, waterproof electrical tape, and a spare light fixture on hand. Being prepared means you can quickly address any issues that arise, keeping your underwater pool lights functioning optimally.
By incorporating these maintenance tips into your routine, you ensure the safety and durability of your waterproofing efforts. Regular attention to detail not only safeguards your investment but also keeps your pool a sparkling oasis for everyone to enjoy. So, stay vigilant, keep those tools handy, and enjoy the shimmering glow of your perfectly waterproofed underwater pool lights.


