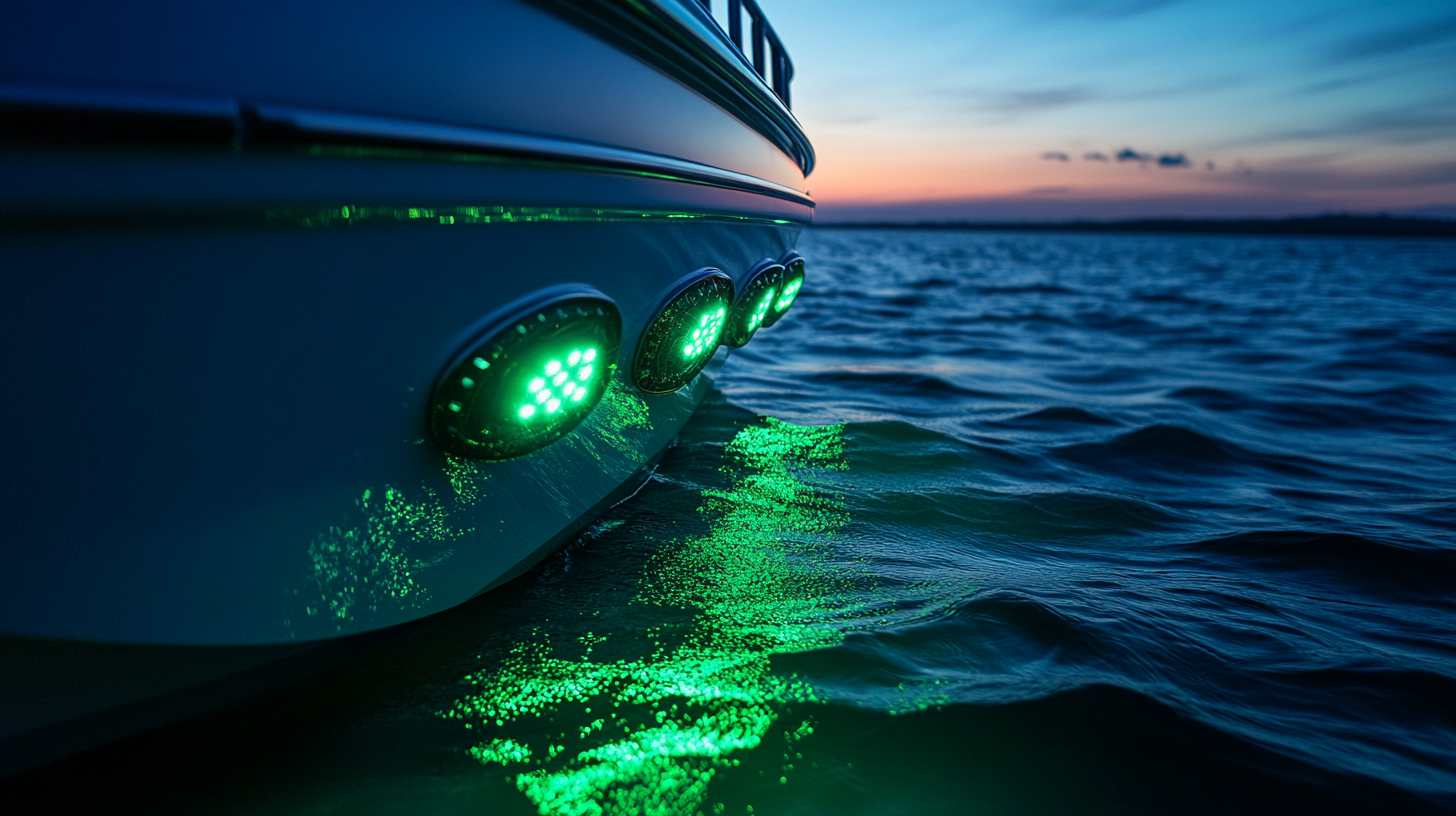
Seasonal maintenance for underwater pool lights
One of the first steps in your seasonal maintenance routine for underwater pool lights is to carefully inspect the light fixtures for any signs of damage. Over time, these fixtures are exposed to water, chemicals, and varying temperatures, which can create small cracks, chips, or other issues that might go unnoticed at a glance. Begin by examining the exterior of the fixture, looking for any obvious damage to the casing. Even a small crack can allow water to seep in, potentially leading to electrical issues or a full breakdown of the light. Pay close attention to the edges where the lens cover meets the housing, as these areas are particularly vulnerable. Also, check for any signs of rust or corrosion, which may indicate that water has already made its way inside. Spotting these issues early can save you from costly repairs or replacements down the road.
Cleaning lens covers and housings
A crucial step in the seasonal maintenance of your underwater pool lights involves thoroughly cleaning the lens covers and housings. Over time, these parts can accumulate a thin film of dirt, algae, or mineral deposits, which can significantly reduce the brightness and effectiveness of the lights. Start by carefully removing the lens cover according to the manufacturer’s instructions. Once removed, you can use a soft brush or a microfiber cloth to gently scrub away any surface grime. For stubborn spots, a mild dish soap solution works wonders, but be sure to avoid any abrasive cleaners that may scratch or cloud the lens.
Next, give the lens cover a good rinse with clean water to remove any remaining soap residue. While you’re at it, take a moment to clean the interior of the housing as well. Dirt and algae often accumulate in these areas, creating a gunky buildup that can interfere with the light’s performance. Be mindful not to dislodge any gaskets or seals while cleaning, as they are essential for keeping the water out of the fixture. Once everything is sparkly clean and dry, carefully reassemble the fixture. By keeping the lens covers and housings free of debris, you optimize the light output, ensuring your pool remains well-lit and inviting throughout the swimming season.
Checking electrical connections
To ensure that your underwater pool lights remain safe and functional, checking the electrical connections is a pivotal aspect of seasonal maintenance. Over time, exposure to moisture and fluctuating temperatures can cause connections to loosen, corrode, or suffer other forms of degradation, which may lead to lighting issues or even pose a safety hazard.
Start by turning off the pool’s power supply to avoid any risk of electrocution while you work. Carefully remove the light fixture from its housing, keeping in mind that underwater inground pool lights are typically sealed to prevent water intrusion, so it may take a bit of effort to gently wiggle them free. Once the fixture is out, closely examine the electrical wiring for any signs of wear, such as frayed or exposed wires, or any corrosion on the connectors. Even a small amount of corrosion, often appearing as a greenish or white powdery substance, can inhibit the flow of electricity and diminish the light’s performance.
If you do notice any corrosion, carefully clean the affected area using a vinegar solution or specialized electrical contact cleaner. Be sure to dry the connection thoroughly afterward, as lingering moisture could contribute to future corrosion. In some cases, the damage might be extensive enough to warrant replacing the connectors or wires entirely. While this can be a more involved task, it’s crucial for the long-term safety and operation of your pool lights.
Once you’ve addressed any corrosion or damage, make sure all connections are secure. Loose connections can cause flickering lights or impede the light from turning on altogether. Tighten any screws or other fastening components, ensuring that everything is firmly in place. Finally, as you reassemble the fixture, double-check that all seals and gaskets are properly positioned to maintain the waterproof integrity of the unit. Neglecting this could result in water seeping into the electrical components, leading to more significant issues down the road.
After completing this step, you’ll be one step closer to ensuring that your underwater pool lights are ready to safely and efficiently illuminate your pool area all season long.
Replacing bulbs and gaskets
When it’s time to replace bulbs and gaskets during your seasonal maintenance routine for underwater pool lights, you’ll want to proceed meticulously to ensure long-lasting performance and safety. First, make sure you have the right type of bulb and an appropriate gasket replacement for your specific light fixture. Pool lights can vary widely in terms of bulb type, from halogen to LED, so it’s essential to consult your fixture’s manual or reference guide to choose the correct replacement.
Before beginning the replacement process, you should turn off the power supply to the pool lights at the breaker. This safety measure will prevent any risk of electric shock while working with electrical components.
The first step is to remove the old bulb. Carefully detach the lens cover, which is typically held in place by screws or a locking mechanism. Once the cover is removed, you’ll have access to the bulb and the gasket. If the bulb has been in use for a long time, it may have become stuck or corroded within its socket. In such cases, gently wiggle the bulb out using a soft cloth or rubber gloves to enhance your grip while also protecting the bulb from cracking or shattering. Dispose of the old bulb properly, adhering to any local regulations regarding the disposal of electrical goods.
Next, inspect the gasket that seals the lens cover to the light housing. Over time, gaskets can degrade, losing their flexibility and creating gaps that allow water to seep into the fixture. Even if the existing gasket isn’t visibly damaged, it’s a good idea to replace it during this stage of your maintenance to ensure a tight, waterproof seal. Before inserting the new gasket, clean the groove or channel where it sits to remove any dirt or residue that could prevent a proper seal.
With the new gasket in place, install the new bulb by slotting it into the socket until it’s securely seated. Be sure to handle the new bulb with a clean cloth or gloves to avoid leaving oil residues from your fingers, which can cause hot spots and reduce the bulb’s lifespan. Once the bulb is secured, carefully reattach the lens cover, ensuring that the gasket is perfectly aligned to prevent any leaks.
Finally, tighten all screws or locking mechanisms evenly to avoid putting unnecessary pressure on one side of the fixture, which could compromise the gasket seal. Any deviation in pressure could lead to micro-gaps that allow water to slowly infiltrate the fixture, potentially causing corrosion or electrical short circuits.
By replacing bulbs and gaskets as part of your seasonal maintenance practices for underwater pool lights, you ensure that your pool remains safely illuminated, offering both functionality and ambiance throughout the swimming season.
| Component | Action | Importance |
|---|---|---|
| Bulb | Replace with correct type | Ensures proper light output |
| Gasket | Replace during every bulb change | Maintains waterproof seal |
| Socket | Inspect for corrosion | Ensures electrical safety |
Reinstalling and testing operation
Once you’ve completed the steps of replacing bulbs and gaskets, the next vital step in your seasonal maintenance routine for underwater pool lights is to reinstall the fixture and test its operation. Reinstallation, although straightforward, requires precision to ensure that everything functions as expected and, more importantly, remains watertight.
Begin by carefully positioning the light fixture back into its housing. It’s crucial to align the fixture correctly with any notches or markers so that it sits securely in place. Depending on your pool’s design, you may need to rotate the fixture slightly until it locks into position. During this process, be mindful of the cord; it should be neatly positioned without any kinks or bends that could lead to wear or future electrical problems.
With the fixture aligned and seated properly, it’s time to secure it. Many fixtures are fastened using screws or clips that were previously removed. Make sure these are tightened evenly, to ensure that the fixture stays in place and that the gasket forms a solid waterproof seal. Skipping or loosely fastening screws could lead to water seeping into the fixture, which, as you might imagine, can result in costly damage or safety issues down the line.
Once the fixture is securely in place, head back to your pool’s electrical panel to restore power to the lights. Even before testing underwater, it’s a good idea to double-check that everything is in working order by briefly turning the lights on. After switching the power back on, check the light for a consistent and steady beam. Any flickering or failure to light up may indicate that a connection is loose or that a more serious electrical issue is at play, which you’ll need to troubleshoot before continuing.
If the light glows properly, give the fixture a visual inspection one more time to ensure all the screws and components are securely fastened. Now, it’s time to finish filling the pool with water, if it was drained for maintenance, and leave the light on for an extended period, generally around 30 minutes, to confirm that there are no issues. Keep an eye out for any small bubbles or leaks around the fixture, which could indicate that the gasket isn’t forming a proper seal, or that something wasn’t tightened properly.
Take a step back and admire your handiwork. Assuming everything appears to be in order, the process of reinstalling and testing your underwater pool lights is complete! Regular seasonal maintenance, including a careful reinstallation and thorough testing of the lights, helps guarantee that your pool area will stay brightly lit and safe for enjoyment throughout the swimming season.

