Safe installation tips for underwater pool lights
When it comes to the safe installation of underwater pool lights, understanding electrical safety regulations is crucial. These regulations are in place to protect both the installer and the users from electrical hazards. First and foremost, always ensure that the pool lights you intend to use are UL-listed for underwater use; this certification ensures that they meet stringent safety standards.
Additionally, you must adhere to the National Electrical Code (NEC) requirements, which provide detailed guidelines on how electrical systems should be installed and maintained. One key NEC regulation involves the installation of a Ground Fault Circuit Interrupter (GFCI). The GFCI is designed to break the circuit if it detects any imbalance between the outgoing and incoming current, effectively preventing electric shock. All pool lighting systems are required to be connected to a GFCI to ensure maximum safety.
Another important aspect to consider is the depth and distance of the lights from the pool’s edge. According to safety regulations, underwater pool lights must be installed at least 18 inches below the water surface and no closer than 4 feet from the pool’s edge. This prevents accidental contact and enhances safety for swimmers.
Finally, always use appropriate waterproof conduits and junction boxes. These components are essential in preventing water ingress, thereby safeguarding the electrical connections. Ensuring that your installation materials are water-resistant will go a long way in preventing potential hazards.
By meticulously following these electrical safety regulations, you can significantly reduce risks and enjoy a beautifully illuminated pool. Always consult with a licensed electrician if you’re unsure about any aspect of the process, as their expertise can provide vital tips for a successful installation.
Choosing the right underwater lights
Picking the right underwater pool lights is a crucial step toward achieving a well-illuminated and safe swimming environment. When selecting pool lights, consider the type of lighting technology. LED lights have become the go-to choice thanks to their energy efficiency, longevity, and vibrant colors. They consume up to 80% less electricity than traditional incandescent bulbs, making your pool both eco-friendly and cost-effective in the long run.
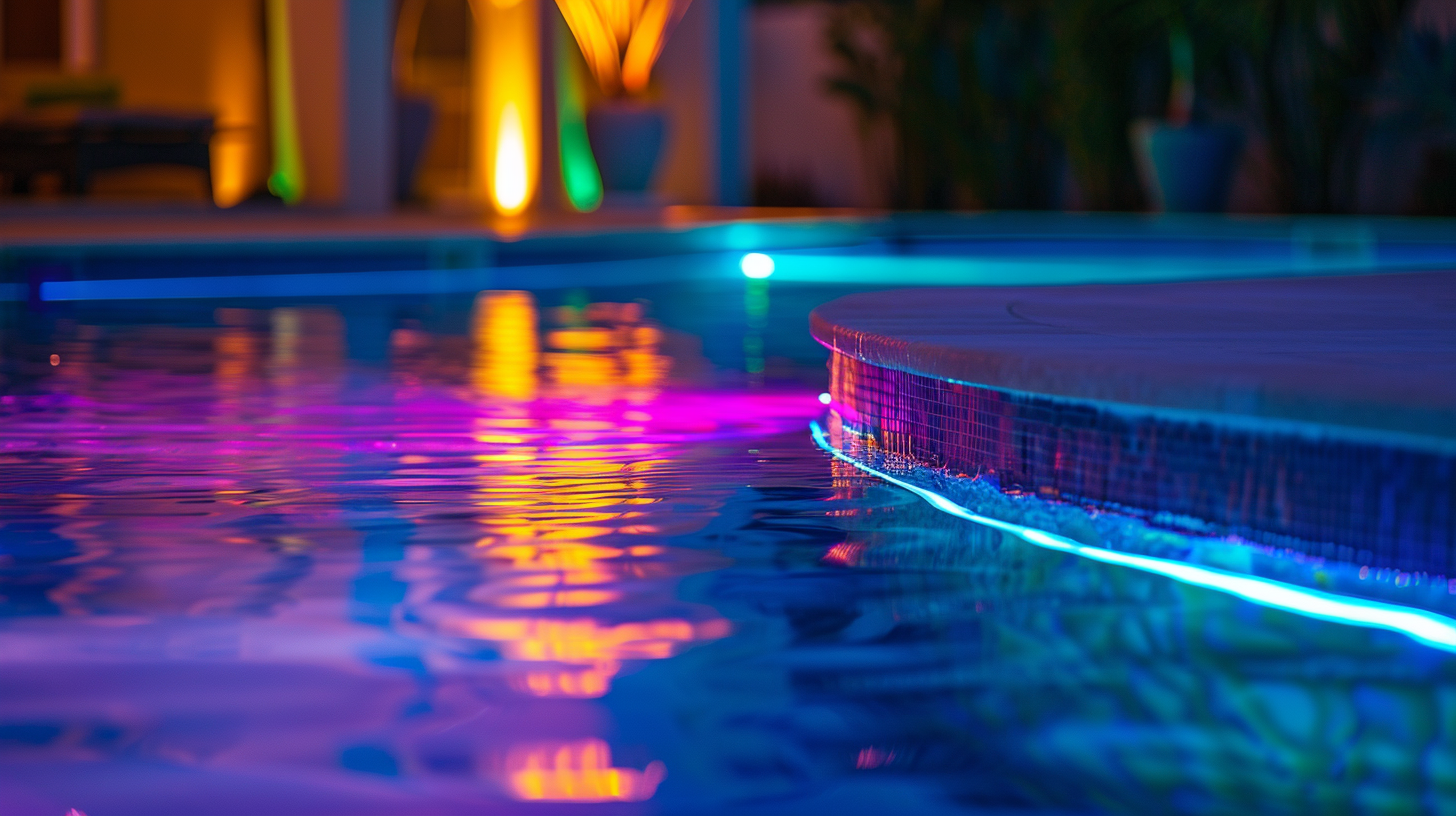
Next, think about the light’s brightness and color. It’s essential to strike a balance between too dim and too bright. For a relaxing ambiance, opt for lights that offer adjustable brightness settings. Some advanced LED lights even come with color-changing capabilities, allowing you to set the mood with colors ranging from tranquil blues to festive multi-color displays for those evening pool parties.
Another vital factor is the light’s compatibility with your pool’s design and existing electrical system. Make sure the lights you choose are specifically designed for underwater use to ensure safe installation. Waterproof and corrosion-resistant features are non-negotiable, as these properties not only extend the life of the lights but also minimize maintenance hassles.
Ease of installation is also worth considering. Some pool lights are designed for DIY installation, while others might require professional help. If you’re a DIY enthusiast, look for lights with clear installation guides and user-friendly mounting systems. However, if your pool’s layout is intricate or if you’re unsure about handling electrical components, hiring a professional could be a safer bet.
Lastly, keep an eye on the warranty and after-sales support provided by the manufacturer. A robust warranty and responsive customer service can save you from future headaches if something goes awry. Brands with extended warranties and good customer reviews often stand behind the quality of their products, providing extra reassurance for your investment.
By weighing these factors carefully, you can choose the ideal underwater pool lights that not only enhance the aesthetic appeal of your pool but also ensure a safe and enjoyable swimming experience for everyone. Expert recommendations and user reviews can also offer valuable insights, guiding you toward the best products on the market.
Preparing the pool for installation
Before diving into the installation process, it’s essential to prepare the pool environment properly. Start by draining the water level to just below the area where the lights will be installed. This step ensures that you have a dry and stable workspace, minimizing the risk of water-related accidents and making it easier to achieve a safe installation.
Next, inspect the walls and floor of your pool thoroughly. Look for any cracks, algae formations, or debris that could interfere with the placement of the pool lights. Cleaning the surfaces meticulously will not only ensure that the lights adhere properly but also prevent any potential issues during the installation. Using a gentle pool-friendly cleaning solution can help you achieve a spotless surface without damaging the pool’s structure.
Electrical preparation is another critical aspect of this process. Ensure that the main power supply to the pool is turned off before you begin any electrical work. This step is paramount for your safety and complies with essential safety regulations. It’s advisable to use a voltage tester to double-check that there is no live current running through the wires you’ll be working on.
If your pool doesn’t already have niches or specific areas designated for lighting, you’ll need to decide where to place the lights. A well-illuminated pool is not just about aesthetics; it’s also about functional lighting. Positioning the lights at even intervals will minimize shadows and ensure an even distribution of light. Sketch a plan of your pool and mark where each light will go, considering factors like how the light will reflect off the water and illuminate key areas.
Preparing mounting brackets and conduits is another crucial step. Secure the mounting brackets firmly to the pool walls at the designated spots. Depending on the type of light you’ve chosen, you may need to drill holes and insert anchors to hold the brackets in place. Make sure the conduits, which house the electrical wires, are water-resistant and securely attached to prevent water from seeping in and affecting the electrical components. Double-check that all seals and gaskets are in place and functional, as these are vital for maintaining a safe installation.
Before proceeding further, gather all the tools and materials you’ll need, such as screwdrivers, waterproof connectors, wire nuts, and silicone sealant. Having everything at hand will streamline the process and help avoid unnecessary interruptions. Look through the instruction manual for the specific pool lights you’re installing to ensure you have any specialized tools or parts required.
Consider installing a temporary barrier around the pool area, especially if you’re working in a public or frequently used pool. This step will keep the work zone safe and free from interruptions, allowing you to focus on completing the installation efficiently and safely. By taking these preparatory steps, you’re setting the foundation for a hassle-free and safe installation of your underwater pool lights.
Step-by-step installation process
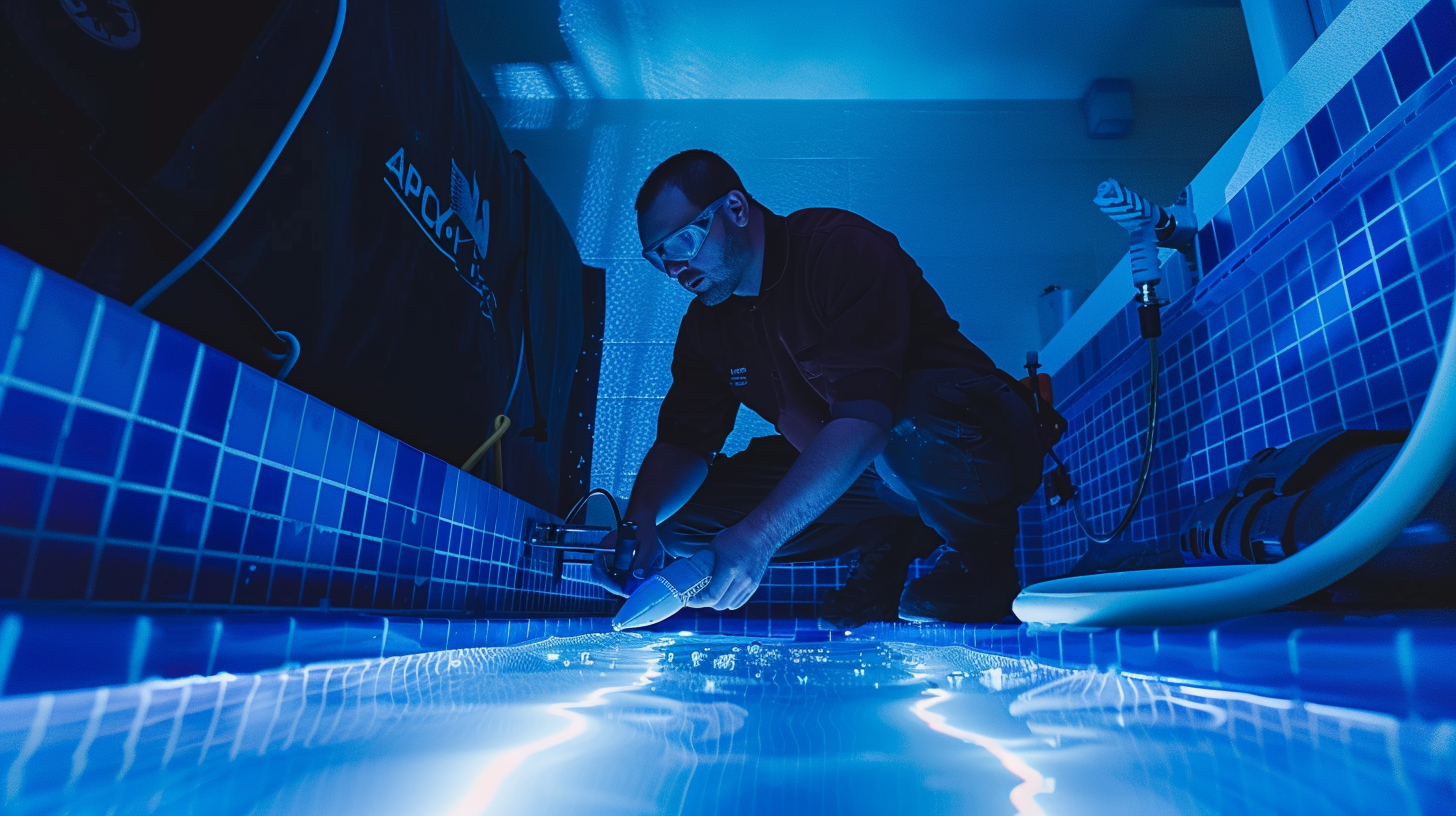
There are several steps to ensure a safe and effective installation of underwater pool lights. Begin by turning off the power supply to the area where you will be working. This is a vital safety measure to prevent any electrical accidents during the installation process.
Next, prepare the niche or housing for the pool lights. This involves making sure it is clean and free of any debris or algae. Use a non-abrasive, pool-safe cleaning agent to clean the area thoroughly. Ensuring the housing is spotless will help the light fixture to sit properly and securely.
Once the area is clean, run the electrical conduit from the light niche to the power source. Utilizing water-resistant conduits is crucial to safeguard the electrical wiring from moisture. Secure the conduit in place as per the manufacturer’s recommendations, making sure all connections are tight and sealed.
Now, feed the wiring through the conduit to connect it to the pool light. Strip the wires as needed according to the instructions provided with your pool lights, and use waterproof wire nuts to secure the connections. It’s important to ensure that all connections are tight and that there are no exposed wires that could potentially come into contact with water.
Insert the light fixture into the niche. Depending on the design of your pool lights, you may need to twist the fixture to lock it into place or secure it with screws. Check the manufacturer’s instructions for the correct method. Ensure that the fixture is properly sealed to prevent water ingress.
Caulk around the edges of the light fixture using silicone sealant. This step is vital in creating a waterproof barrier, preventing any potential leaks that could compromise the electrical components.
Once the lights are securely fixed and sealed, return to the power source to complete the wiring connections. Connect the wires from the pool lights to a Ground Fault Circuit Interrupter (GFCI). The GFCI is an essential safety feature designed to cut off electrical power if any imbalance or fault is detected. This is crucial for preventing electric shock, especially in a wet environment.
Turn the power back on and test the pool lights to ensure they are functioning correctly. Observe for consistency in lighting and ensure that there are no flickers or signs of improper connections. If everything is in order, you’re ready to fill the pool back to its normal water level.
By following these detailed steps meticulously, you can ensure a safe installation of your underwater pool lights, providing a well-illuminated, safe swimming environment. If you encounter any issues or uncertainties during the process, do not hesitate to contact a licensed electrician for professional assistance. They can offer expert tips and ensure that the installation meets all safety regulations.
Maintenance and troubleshooting tips
Regular maintenance is the key to ensuring the longevity and optimal performance of your pool lights. Start by periodically inspecting the light fixtures for any signs of wear or damage. This might include checking for cracks, discoloration, or water ingress. Identifying these issues early on can prevent more significant problems down the line, such as electrical failures or safety hazards.
Cleaning the light lenses is essential for maintaining clear and bright illumination. Over time, calcium deposits, algae, or other residues can accumulate on the lenses, diminishing the light output. Using a non-abrasive, pool-safe cleaner will help keep the lenses clear without scratching or damaging the surface.
Regularly check the integrity of the seals and gaskets. These components are crucial for preventing water from infiltrating the light housing and affecting electrical components. If you notice any signs of wear, such as cracks or brittleness, replace them promptly to maintain a secure watertight seal.
If your pool lights are of the LED variety, they generally require less maintenance compared to traditional incandescent bulbs. However, it’s still a good idea to monitor the light output. LEDs can slowly degrade over time, and if you notice a significant reduction in brightness or color intensity, it might be time to replace the light. Always refer to the manufacturer’s recommendations for replacement intervals.
Troubleshooting any issues with your pool lights typically involves a few systematic steps. If a light fails to turn on, first check the power supply and ensure that the GFCI has not been tripped. Resetting the GFCI can often resolve simple electrical interruptions. If the problem persists, verify that the wiring connections are secure and free from corrosion. Loose or corroded connections can disrupt the electrical flow and cause the lights to malfunction.
If you encounter flickering lights, it could indicate a more complex electrical issue, such as an unstable power supply or damaged wiring. In such cases, it’s best to consult a licensed electrician to diagnose and resolve the problem professionally. Using a multimeter can assist in checking the voltage and continuity in the wiring, ensuring that the electrical components are functioning correctly.
For advanced pool lighting systems featuring color-changing LEDs or remote controls, software or firmware updates might be periodically necessary to ensure compatibility and functionality. Refer to the manufacturer’s guidelines for performing these updates, as they can help resolve operational quirks or enhance performance.
Seasonal checks can also greatly benefit the maintenance regime of pool lights. As you prepare your pool for different seasons, such as winterizing it before cold weather, include a thorough inspection of the pool lights in your routine. Remove any buildup of debris or algae and make sure the lights are securely in place. This proactive approach can help avoid surprises when you’re ready to enjoy your pool again in warmer months.
Lastly, keep a maintenance log, detailing each inspection, cleaning, and any troubleshooting steps taken. This record can help you track the condition of your pool lights, identify recurring issues, and simplify any future repair processes for yourself or a professional.
By following these maintenance and troubleshooting tips, you ensure that your pool lights remain in top condition, providing a safe and vibrant swimming environment. Regular upkeep is not only about extending the life of the lights but also about ensuring the safe installation continues to deliver a stunning and enjoyable pool experience.