Best practices for cleaning underwater pool lights
When it comes to cleaning underwater pool lights, selecting the right cleaning supplies is crucial to ensure both the efficiency and longevity of your fixtures. Your first stop should be a trip to your local pool supply store, where you’ll find a variety of products specifically designed for underwater maintenance. One of the best practices in this realm is to opt for non-abrasive, soft cleaning pads or cloths. These will help you clean the lights without leaving behind any scratches that could compromise the transparency of the lens.
For detergents, always choose solutions that are safe for underwater application. A mild, pH-neutral cleaner works wonderfully for breaking down grime and algae buildup without damaging the surface of the lights. Avoid using harsh chemicals like bleach or ammonia, as they can corrode the fixtures over time and are harmful to the pool’s overall ecology. If you’re unsure, consult the product labels or ask a store representative to recommend a solution that is both effective and safe.
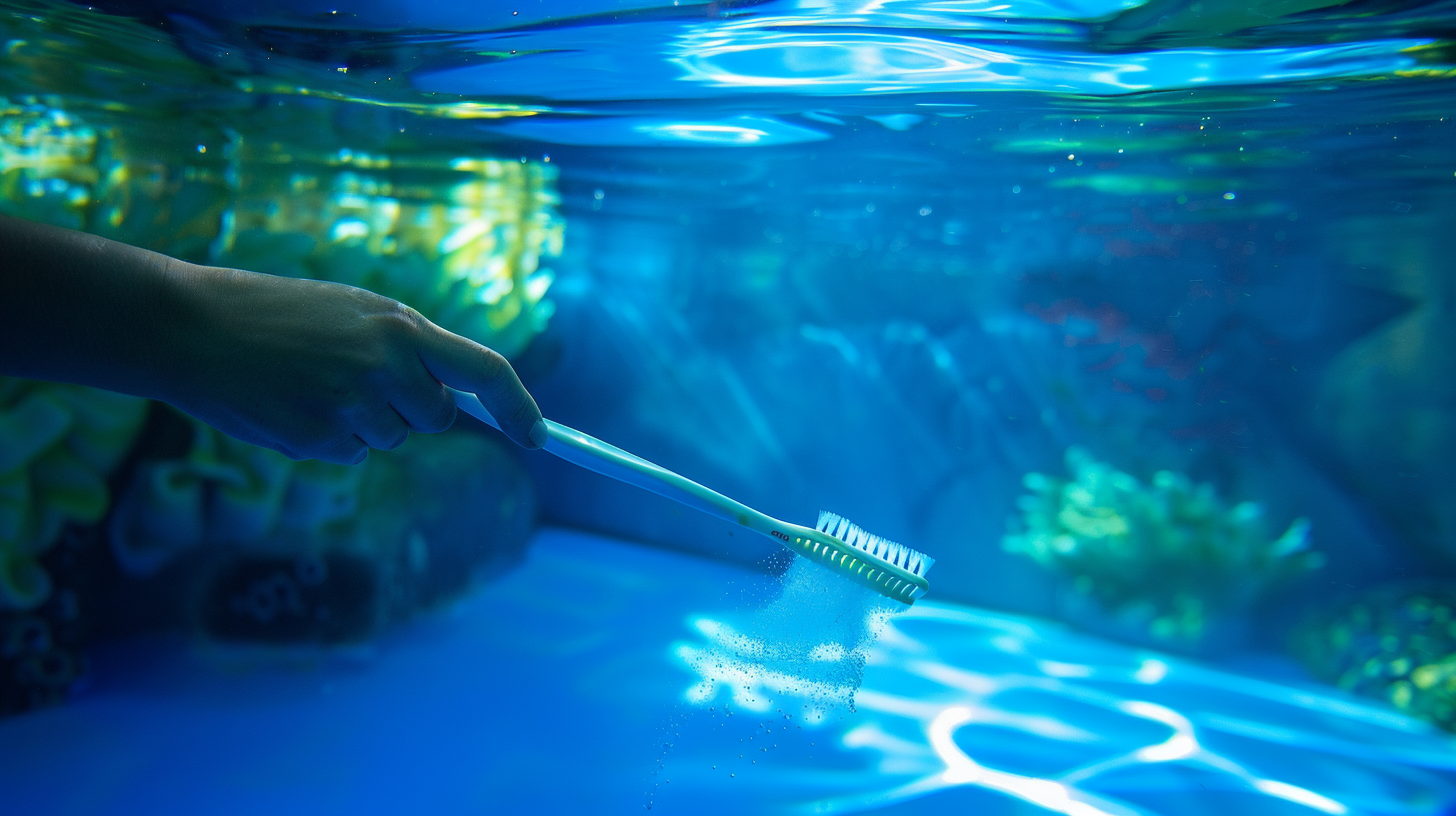
Another essential item in your cleaning arsenal is a good pair of gloves. While it might seem like overkill, gloves protect your hands from any caustic agents or sharp edges you might encounter. Lastly, for those harder-to-reach areas, consider using a soft-bristle toothbrush. It’s excellent for getting into the nooks and crannies of your pool lights, ensuring a thorough clean without damaging any intricate parts.
By ensuring that you have the appropriate supplies on hand and following these best practices, you’ll keep your pool lights sparkling clean and functioning optimally. Remember, taking the time to choose the right cleaning supplies can make all the difference in the long run, helping you avoid the need for frequent replacements and repairs.
Safety precautions to take
Before diving in to clean your pool lights, it’s crucial to prioritize safety to prevent accidents or damage to the lights themselves. First and foremost, always ensure that the power to the pool lights is turned off. This step is non-negotiable, as working with electrical components under water puts you at serious risk of electric shock if the system is still live. Locate the circuit breaker or disconnect switch for your pool lighting and make sure it’s turned off before you start any cleaning procedures.
When dealing with underwater pool lights, make sure you’re equipped with certified pool-safe electrical equipment, such as a Ground Fault Circuit Interrupter (GFCI). The GFCI can detect electrical faults and automatically shut off the power, offering you an extra layer of protection. Even with this safeguard in place, a secondary check of the power being off provides peace of mind and ensures your safety while cleaning.
Another important precaution is to wear appropriate protective gear. This includes a pair of rubber gloves to shield your hands from any sharp edges, algae, or cleaning chemicals you may come in contact with. These gloves also provide better grip, which is especially helpful when handling slippery fixtures underwater. Despite these safety measures, always use cleaners and solutions that are recommended for pool-safe use, minimizing any risk of harmful vapors or reactions.
Additionally, always remember to use non-abrasive tools to clean your pool lights. Sharp or rough materials can damage the surface of the lights, possibly compromising their functionality and longevity. If you’re using a brush or scrubber, opt for a soft-bristle version to clean effectively without causing scrapes or scratches. This best practice ensures that the pool lights maintain their optimal performance and clarity.
It’s also advisable to perform a visual inspection before beginning your cleaning task. Check for any cracks, loose fittings, or other signs of wear and tear. If you notice any issues, make note of them for repair, but refrain from attempting fixes while the fixture is submerged. Repair work should only be done once the pool lights are completely dried and preferably, with the consultation of a professional.
By adhering to these safety precautions, you can confidently undertake the cleaning of your underwater pool lights. These guidelines not only protect you but also ensure that your cleaning efforts will be effective and not inadvertently lead to further complications. Remember, a careful and systematic approach is key to maintaining both your safety and the longevity of your pool lights.
Step-by-step cleaning guide
Now that you have the right supplies and safety measures in place, it’s time to get into the nitty-gritty of cleaning your underwater pool lights. Follow these step-by-step instructions to ensure a thorough, effective cleaning process while keeping your pool lights in top-notch condition.
The first step is to assemble your cleaning supplies and set them within easy reach. Having everything prepared beforehand streamlines the cleaning process and minimizes unnecessary trips in and out of the pool. Equip yourself with your gloves, your chosen non-abrasive cleaning pad or cloth, a mild pH-neutral detergent, and a soft-bristle toothbrush for those tighter spots.
Next, ensure the pool light has completely cooled down. Before you begin the cleaning process, double-check that the power is off and the light fixture has had ample time to cool down. Hot fixtures pose a burn risk and can be challenging to handle safely.
Proceed by gently removing the light fixture from its housing. Most underwater pool lights are designed to be easily detached for cleaning, usually held in place by a single screw or clip. Carefully unscrew or unclip the fixture, and slowly lower it to a comfortable working height above the water line, leaving it partially submerged to maintain moisture in the seals and prevent damage.
Apply a small amount of your mild, pH-neutral detergent to the cleaning pad or cloth. Avoid using excessive amounts of cleaner, as too much can create a residue that might be difficult to rinse off completely. Softly scrub the surface of the pool light, focusing on removing algae, grime, or calcium deposits that may have accumulated. For particularly stubborn spots, gently use the soft-bristle toothbrush to detail clean around edges and crevices without scratching the lens.
Once the initial cleaning is complete, rinse the light thoroughly with clean pool water to remove any detergent residue. Ensuring all cleaning agents are rinsed off is vital, as leftover residues can cause cloudiness or attract more dirt over time.
With the light fresh and clean, now is a good time to inspect the lens and gasket for any signs of wear or damage. Replace any faulty parts as necessary to maintain a tight seal that prevents water intrusion and potential electrical issues. Be meticulous in reassembling the light fixture, ensuring that screws or clips are securely fastened and everything is back in its proper place.
Once you’ve reassembled the light and secured it back into its housing, double-check all connections to ensure they are watertight and correctly fitted. Turn the power back on and take a moment to appreciate the revitalized glow of your pool lights. By following these best practices, you can keep your underwater pool lights not only clean but also in top working condition, ensuring they contribute aesthetically and functionally to your pool area.
Regular cleaning and maintenance of your pool lights are not just recommended but necessary for prolonging their life and enhancing the pool experience. Following this step-by-step guide makes the task manageable and rewarding, leaving your pool sparkling and well-lit.
Maintaining light fixtures
Regular maintenance of your underwater pool lights is essential to ensure their longevity and optimal performance. By incorporating some straightforward practices into your routine, you can prevent common issues such as water leakage, electrical faults, and reduced lighting efficiency.
One of the best practices for maintaining pool lights is to routinely inspect the light fixtures for any signs of wear and tear. Check for cracks or chips in the lens, as these can compromise the waterproof seal and lead to electrical issues. Furthermore, inspect the gasket, the rubber seal that surrounds the light housing to prevent water from entering. If the gasket appears brittle, cracked, or overly compressed, it’s wise to replace it to maintain a secure seal.
Periodic Maintenance Checklist for Pool Lights:
| Maintenance Task | Frequency |
|---|---|
| Inspect lens for cracks or chips | Monthly |
| Check gasket condition | Monthly |
| Clean light fixtures | Every 3 months |
| Tighten screws and fittings | Every 6 months |
| Test electrical connections | Annually |
Another critical aspect of maintaining your pool lights is to ensure the fixture remains securely fastened to its housing. Over time, screws and clips can become loose due to water movement and vibrations. At least once every six months, ensure that all screws and fittings are tightened, and if any parts are rusted or corroded, replace them to prevent further complications.
Keeping the lens clean is another key element in maintaining the effectiveness of your pool lighting. A layer of grime or algae can significantly diminish the brightness of the light, compromising the aesthetics and safety of your pool area. Make it a habit to clean the lens every three months, following the earlier step-by-step cleaning guide. Additionally, always use a soft cloth or sponge with a mild, pH-neutral cleaner to avoid scratching the surface of the lens.
When it comes to electrical maintenance, testing your connections annually is an excellent practice. Ensure that all wiring is intact and that there are no exposed or damaged wires. If you come across any electrical issues, it’s best to consult a professional electrician who specializes in pool lighting to carry out repairs or replacement.
Lastly, always keep a stock of essential spare parts, such as gaskets, screws, and compatible bulbs. This readiness allows for quick fixes, ensuring minimal downtime and consistent lighting performance. Being proactive with minor repairs will save you from more extensive and costly issues in the future.
Following these best practices for maintaining your underwater pool lights will not only help keep your pool looking magnificent, but also safeguard against potential hazards, providing a safe and enjoyable swimming environment. Regular inspections and routine maintenance tasks, although seemingly minor, play a pivotal role in the long-term functionality of your pool lighting system.
Troubleshooting common issues
Even with best practices in place, it’s natural to encounter some common issues when it comes to maintaining your underwater pool lights. One frequent problem is a faulty seal. If you notice condensation inside the light lens or a decrease in the light’s brightness, it could indicate that water has breached the seal. Start by turning off the power and safely removing the light fixture. Inspect the gasket and lens for any damage or wear and replace them if necessary. Ensuring the gasket is correctly positioned and free from debris will help maintain a watertight seal and prevent future water ingress.
Another common issue is flickering or erratic lighting, which is often due to a loose or corroded electrical connection. First, double-check that all screws and fittings are securely tightened. If the flickering persists, it’s time to examine the wiring. Look for any visible signs of corrosion or wear on the wire connectors, and replace damaged components as needed. In some cases, simply cleaning the connectors with electrical contact cleaner can restore a steady, bright light. Remember, safety first: ensure all power is off before handling any electrical parts.
Occasionally, you might find that lights are not turning on at all. This could be due to a burned-out bulb, faulty wiring, or a tripped circuit breaker. Start by checking the circuit breaker or the Ground Fault Circuit Interrupter (GFCI) to see if it has been tripped. Resetting the breaker or GFCI might solve the problem. If it doesn’t, and you’ve confirmed the power is off, consider replacing the bulb with a new, compatible one. After installing the new bulb, if the issue remains, the problem likely lies within the wiring, which may require the expertise of a professional electrician.
In some cases, the light fixture itself might be to blame. Over time, even the best-maintained pool lights can suffer from internal component failure. If you’ve checked the seals, connections, and bulbs, but the light still doesn’t function correctly, it may be necessary to replace the entire fixture. While this is a more involved and potentially costly solution, it can often be more efficient and effective than repeatedly troubleshooting persistent issues.
Algae buildup is another common issue affecting underwater pool lights. Despite regular cleaning, algae can quickly accumulate on and around the light fixtures, especially in warmer climates or untreated pools. If you notice a greenish tint on or near your pool lights, take it as a sign that more frequent cleanings or an algae treatment for your pool water may be necessary. Using an algae brush and a compatible cleaner specifically designed for underwater use can help keep your fixtures clear.
By being proactive about troubleshooting these common issues, you can keep your underwater pool lights in good working order. Whether it’s addressing faulty seals, ensuring solid electrical connections, or replacing aged components, these steps will help maintain the beauty and safety of your pool. Regular inspection and a comprehensive maintenance strategy are key to minimizing downtime and enjoying your pool’s lighting to its fullest potential.