Affordable underwater boat lights for budget-conscious boaters
When it comes to enhancing your boat’s aesthetic appeal and nighttime functionality, installing underwater lighting can make a big difference. Yet, it’s important to know that not all boat lights are created equal, especially if you’re on the hunt for something affordable and impactful. So, let’s dive into some of the popular types of underwater boat lights available, ensuring that you’re well-equipped to choose the best option.
First up, LED underwater boat lights are by far the most popular choice among boaters — and for good reason. These lights are incredibly energy-efficient, meaning they won’t drain your battery even on long nights out on the water. Plus, they’re available in a broad spectrum of colors, from cool blue to vibrant green, allowing you to create the perfect ambiance without breaking the bank. What’s more, LED options tend to have a longer lifespan, making them a truly budget-friendly solution in the long run.
If you’re looking for something a bit different, halogen lights might catch your eye. Though they’re not as energy-efficient as LEDs, halogen lights produce a warm, bright glow that enhances visibility, particularly in murky waters. The best part? Halogen lights are often more affordable initially, making them an attractive option for boaters keen on minimizing upfront costs while still gaining powerful underwater lighting.
Last but not least, Xenon lights offer bright and intense illumination, making them a suitable option for fishing enthusiasts or anyone looking to spotlight specific areas around the boat. Though they tend to be pricier, they deliver superior visibility, which could be worth the investment if you’re after high-performance lighting. Keep an eye out for affordable Xenon options if superb brightness is high on your priority list.
Ultimately, choosing the right type of underwater boat lights depends on your specific needs and budget. Whether you opt for the energy efficiency of LEDs, the warm glow of halogens, or the powerful illumination of Xenon, there’s a budget-friendly option out there to light up your aquatic adventures.
Key factors to consider when buying on a budget
Shopping for underwater boat lights on a budget doesn’t have to mean sacrificing quality or performance. There are several key factors to consider that can help ensure you get the best value for your money. First and foremost, you’ll want to determine what type of light suits your specific needs. As mentioned earlier, LED lights are generally the most popular due to their energy efficiency and long lifespan, making them a highly budget-friendly option for the cost-conscious boater. However, if upfront cost is your primary concern, considering more traditional options like halogen lights could be a viable choice.
Another important factor is the light’s durability. When you’re shopping for affordable options, it can be tempting to opt for the cheapest model available, but beware — going the ultra-cheap route can often result in frequent replacements, ultimately costing you more in the long term. Look for underwater boat lights that are made from high-quality, corrosion-resistant materials like marine-grade stainless steel or bronze, especially if you frequently navigate saltwater environments. These materials help ensure that your lights will stand the test of time and won’t corrode or deteriorate quickly.
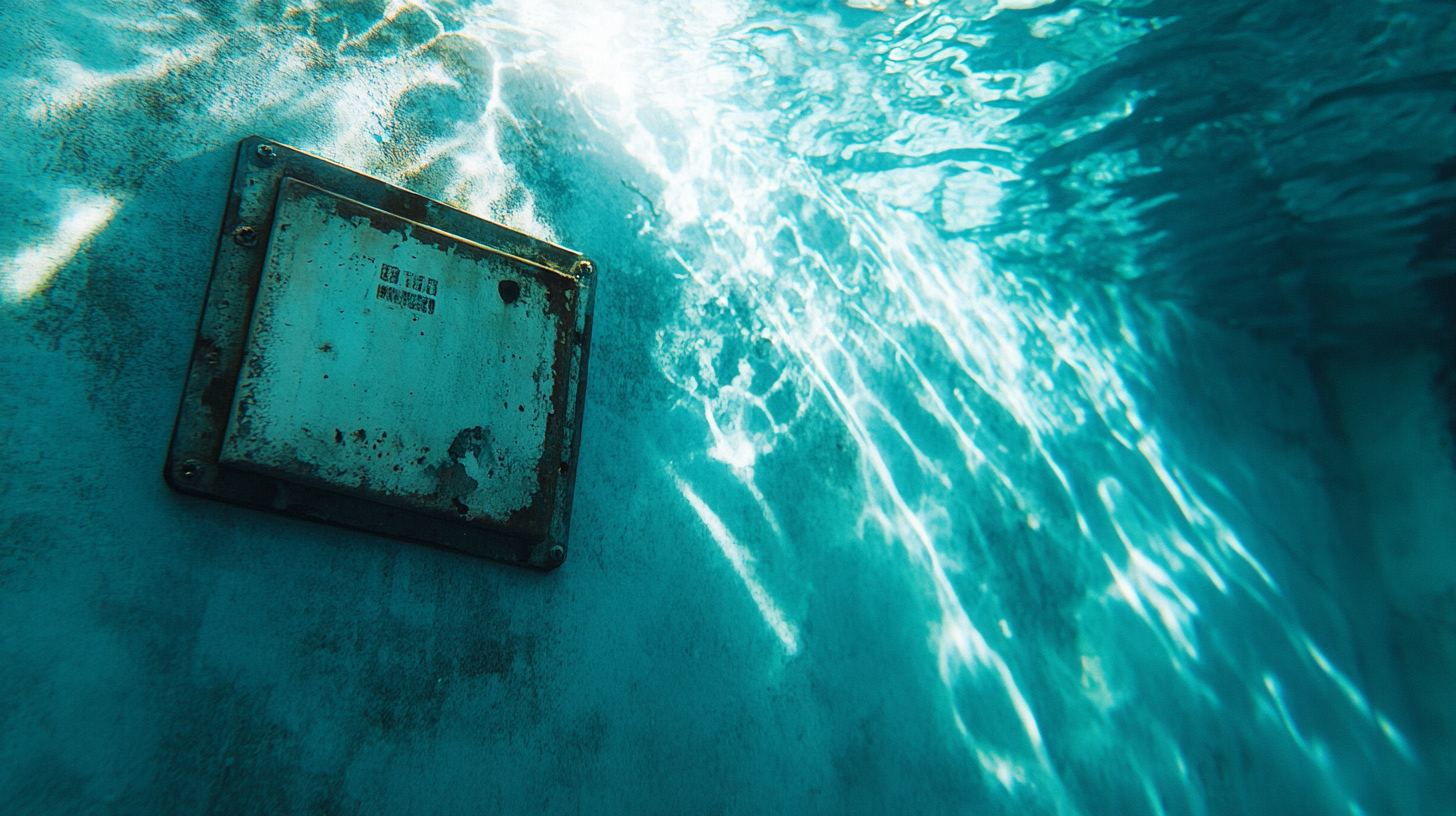
Don’t forget to consider the level of waterproofing. Since these lights will be submerged in water, they need to be fully waterproof, not just water-resistant. The level of waterproofing is typically indicated with an IP (Ingress Protection) rating. Aim for an IP68 rating, which ensures that the lights are not only waterproof but also sealed against dust and particulate matter. This is especially crucial for preventing leaks that could lead to short circuits or light failure.
Power consumption is another aspect that should not be overlooked. While many boaters go for LED options due to their low power draw, it’s essential to check the specific wattage of the light. Even among LEDs, power consumption can vary. Opting for lights with low wattage can prolong your battery life and save you some cash in the long run. Keep in mind that the more lights you install, the more power you’ll need, so choose wisely to keep everything energy-efficient.
Lastly, consider the ease of installation. Some underwater lights require professional installation, which can add to your overall costs. To stay within budget, look for options that offer easy, DIY installation with minimal tools required. Many affordable models come with clear step-by-step instructions, making it possible for even novice DIYers to handle the installation themselves.
By taking these factors into account, you’ll be well on your way to finding affordable and reliable underwater lighting that meets both your budget and your needs. Balancing quality with cost is the key to illuminating your boat without sinking your wallet.
Top affordable brands in the market
When shopping for underwater boat lights that won’t bust your budget, it pays to know which brands are leading the pack in both affordability and performance. Several companies have established a reputation for offering budget-friendly products without compromising on quality.
First on the list is Lumitec, a brand that’s well-known for its balance of affordability and reliability. Even though Lumitec is often associated with high-end marine lighting solutions, they do offer a range of products that cater to budget-conscious boaters. Their SeaBlaze Mini series, for example, is one of the most popular lines among those looking to add a bit of underwater lighting without spending a fortune. Despite their smaller size, these lights are powerful, energy-efficient, and easy to install, making them an excellent choice for boaters who want to embellish their vessel without the sticker shock.
Next up is Attwood, another brand that’s gained a strong following among budget-minded boaters. Their underwater lights have gained positive reviews for being rugged and long-lasting, which is a big draw when you’re trying to get the most bang for your buck. The Attwood 6522-7 LightArmor underwater light is a standout option. It’s made from marine-grade materials, offers a vibrant blue glow, and has a streamlined design that’s incredibly easy to mount. Plus, Attwood’s lights generally come in well below similar products from other brands, giving you quality illumination at a wallet-friendly price.
Then there’s Shoreline Marine, a brand that specializes in delivering solid marine products at a price point that appeals to more frugal boaters. Shoreline Marine’s SL91581 Underwater LED lights are especially popular for their robust construction and ease of installation. Whether you’re retrofitting an older boat or outfitting a new vessel, these lights provide strong luminescence in a user-friendly package. They’re also known for their low power consumption, so you won’t be draining your battery while enjoying their vivid underwater glow.
An additional name to keep on your radar is TH Marine, particularly their Drain Plug Light series. These lights offer a unique and innovative way to add underwater illumination to your boat without complex installations. They screw directly into your 1/2-inch drain plug, meaning you won’t need to drill additional holes in your vessel. The TH Marine LED Underwater Drain Plug Light is one of the most affordable and fuss-free options out there — perfect for boaters who want something simple yet effective. While basic in design, these lights deliver a surprising amount of brightness and are made to withstand harsh marine environments.
Lastly, OceanLED, while typically known for their luxury-oriented products, has also produced more budget-friendly options that don’t forsake performance. Their X-Series offers a range of lights that cater to various needs, with entry-level models that are surprisingly affordable given the brand’s prestige. These lights are perfect for anyone who’s looking for a taste of high-end underwater illumination without the premium price tag. OceanLED’s lights are also generally easy to install, making them a versatile option for boaters of all experience levels.
By focusing on these top brands, you’ll be able to find underwater boat lights that are not only affordable but also durable and efficient. Each of these companies offers options that appeal to both beginner and experienced boaters, ensuring you can light up your adventures on the water without sinking your budget.
DIY installation tips for underwater lights
Installing underwater boat lights can seem like a daunting task, especially if this is your first time tackling a DIY marine project. However, with some preparation and the right tools, you can get your lights installed quickly and efficiently without needing to hire a professional. Taking a DIY approach not only saves money but also gives you control over the installation process, allowing you to achieve the exact look and functionality you want for your boat. Below are some step-by-step tips and guidelines to help you get your budget-friendly underwater boat lights up and running.
Tools and Materials You’ll Need
Before diving into installation, gather the essential tools and materials:
- Underwater boat lights
- Power drill (preferably cordless)
- Marine-grade drill bits
- Marine-grade sealant or epoxy
- Wire stripper and crimper
- Electrical tape
- Marine-grade wiring
- Heat shrink tubing
- Zip ties
- Gloves
- Safety goggles
- Ruler or measuring tape
Step 1: Plan Your Installation
Before starting the actual installation, it’s crucial to plan where you want the lights to be positioned. Consider both aesthetics and functionality. Most boaters prefer installing lights either along the transom (rear) of the boat or on the hull side closest to the waterline. This not only creates a pleasing visual effect but also ensures you’ll illuminate a significant area underwater.
Use a measuring tape to mark out the exact spots where you’ll be drilling holes. For a balanced look, try to place the lights symmetrically. Also, consider the number of lights you’re planning to install and make sure your boat’s electrical system can handle the additional load. If in doubt, consult your boat’s manual for electrical specifications.
Step 2: Drill Holes for Light Placement
Once you’ve determined where your lights will go, it’s time to start drilling. Put on your safety goggles and gloves to protect yourself from flying debris and sharp edges.
Using a power drill equipped with a marine-grade drill bit, carefully drill holes where you’ve marked. Start with a smaller pilot hole to guide the bit before switching to a larger one that matches the size of your light’s mounting bracket. Be sure you’re drilling perpendicularly to the surface to avoid misalignment. Smooth out the edges of the holes using sandpaper or a file to prevent any gnawing on the wires later.
Step 3: Waterproof the Drill Holes
One of the most crucial steps in the installation is making sure the entry points for your wiring are watertight. After drilling the holes, apply a generous amount of marine-grade sealant or epoxy around the edges. This step is essential for preventing water from seeping into the boat, which could lead to electrical malfunctions or even structural damage in the long run.
Allow the sealant to cure as per manufacturer instructions before proceeding to the next step. This might take several hours, so be patient. Some DIYers find it helpful to do the drilling and sealing early in the day and then leave it to cure overnight.
Step 4: Wiring the Lights
Once the holes are dry and fully sealed, it’s time to wire up your boat lights. Begin by feeding the wires from the lights through the drilled holes, being careful not to damage the insulation.
Inside the boat, strip about half an inch of insulation off the ends of the wires using a wire stripper. Use heat shrink tubing to cover the bare wires, and then connect the light wires to the corresponding boat wires (usually the positive and negative terminals of your boat’s power source). Secure the connections using marine-grade connectors, and use a crimper tool to ensure a tight connection. Don’t forget to slide the heat shrink tubing over the connections and apply heat (a heat gun or lighter works) to shrink it down snugly, providing extra waterproofing protection. Finish by wrapping the connections in electrical tape for added safety.
If you have multiple lights, connect them in parallel rather than in series. This configuration ensures that if one light fails, the others will continue to work.
Step 5: Mount the Lights
With the wiring in place, you can now mount the lights onto the boat. Most budget-friendly underwater boat lights come with a mounting template or brackets. Attach the mounting bracket securely to the boat using screws and washer-heads, ensuring it lies flush against the surface. Use more marine-grade sealant around the edges of the mount if necessary.
After attaching the bracket or template, secure the light unit to it. Check to make sure the light is tightly fastened and won’t destabilize while the boat is in motion.
Step 6: Test the Lights
Before you hit the water, it’s essential to test the lights to ensure everything works perfectly. Switch on your boat’s power and wait for the lights to illuminate. If they don’t turn on, check the wiring connections or consult the troubleshooting section in your light’s manual.
You can also test the lights while the boat is still on dry land, using a bucket of water or by partially submerging the boat at a dock. Observe the lights to ensure they provide even and steady illumination without any flickering or dimming.
Step 7: Secure and Protect the Wiring
Finally, it’s time to secure the wiring to ensure everything looks neat and stays in place. Use zip ties to bundle the excess wires together, making sure to keep them away from any moving parts or areas that may experience high levels of heat or moisture. Secure the wires along the hull or under decking panels as needed.
If you’ve installed the lights along the transom, run the wires upward and connect them with the boat’s existing wiring harness. If they’re on the side hull, use protective conduits or looms to protect the wires from abrasion or damage.
Bonus Tip: Add a Fuse
To protect both your new lights and your boat’s electrical system, consider adding an inline fuse to the positive wire. Make sure the fuse rating matches the wattage of your lights for optimal protection against electrical surges or short circuits.
By carefully following these steps, you can successfully install affordable underwater lighting, adding a stylish and functional upgrade to your boat without overstepping your budget.
Maintenance tips to prolong light lifespan
Once you’ve successfully installed your budget-friendly underwater boat lights, it’s essential to keep them in top condition to ensure they last as long as possible. Regular maintenance will not only prolong the lifespan of your lighting system but also ensure optimal performance every time you’re out on the water. Even though maintenance might seem like an extra task, a little effort now can save you from costly repairs or replacements down the line.
Start by giving your underwater boat lights a thorough rinse after each use, especially if you’ve been sailing in saltwater. Saltwater can be incredibly corrosive, and over time, it can cause significant damage to both the exterior and internal components of your lights. Rinse the lights with freshwater and gently scrub off any salt deposits using a soft cloth or sponge. This simple step can do wonders in preventing corrosion and keeping your lights shining brightly.
Barnacles, algae, and other marine organisms can also attach themselves to the exterior of your lights, reducing their brightness over time. It’s a good idea to clean off any marine growth regularly. A soft-bristle brush or non-abrasive sponge can help remove these unwanted layers without scratching the lights’ surface. For tougher buildup, a gentle marine cleaner compatible with your light’s material can be useful. Be cautious not to use harsh chemicals as they can damage the lens and other components of the light.
Another key element to keeping your underwater boat lights in great shape is to periodically check the seals and gaskets. Over time, the waterproof seals can degrade, allowing water to seep into the lights, which may lead to electrical failure. Make it a habit to inspect the seals for any signs of wear and tear or shrinkage. If you notice any damage, replace the seals immediately to maintain a watertight barrier. Most light manufacturers offer replacement seals or gaskets, which are a small investment to ensure the longevity of your lighting system.
Don’t forget to check the wiring regularly, especially at the connection points. Corrosion at the terminals or connectors can disrupt the electrical connection, causing your lights to flicker or fail. Use a marine-grade electrical contact cleaner to maintain these connections. Also, reapply waterproofing sealant to the wiring entry points if you notice any cracking or peeling. Ensuring that your wiring remains protected from moisture is crucial for preventing short circuits and maintaining overall safety.
For LED lights specifically, keeping the lens clean is crucial, as any dirt, smudges, or algae buildup can reduce the light output and ruin the aesthetics. Use a lens-safe cleaner or a mixture of mild soap and water to wipe down the lens regularly. This will also give you the chance to inspect the lens for any scratches or cracks that might have developed over time. If scratches are visible and affecting the light’s performance, consider replacing the lens or light module to keep your system in prime condition.
To avoid unnecessary strain on your boat’s battery, ensure that your lights are not running continuously when not needed. While LED lights are energy-efficient, they can still drain the battery if left on for extended periods. Consider installing an on-off switch or timer to manage the usage of your lights more efficiently. This simple step can help conserve energy and extend the life of both your lights and your boat’s battery.
Lastly, don’t hesitate to consult the manufacturer’s guidelines for any specific maintenance recommendations for your model. Every brand might have certain nuances in terms of cleaning, maintenance, and part replacements that ensure your lights perform at their best. Following these guidelines closely will not only keep your budget-friendly underwater lights in top shape but also ensure that any warranties remain valid.
By incorporating these maintenance practices into your routine, you can enjoy stunning underwater illumination for years to come, all while keeping your costs low and your boat looking its best.