How to troubleshoot common issues with underwater boat lights
One of the most common issues boaters face with underwater lights is power supply problems. It’s easy to overlook the fact that, like any other electrical component, these lights rely on a well-functioning power source. When troubleshooting a malfunction, the first thing you should check is whether the lights are receiving adequate power to begin with. A common culprit can be a blown fuse. Fuses are there to protect the electrical system, so if they’ve been triggered, they’ll need to be replaced before your lights will work again.
Next, take a look at the connections. Loose or corroded terminals can interrupt the power flow to your lights. Simply tightening any loose connections and cleaning off any corrosion can resolve the issue. Grounding is another potential pitfall. Poor or improper grounding can lead to flickering or intermittent performance, so double-check all ground wires to ensure they’re securely connected to clean, bare metal.
If everything looks good but your underwater lights still refuse to turn on, the problem could lie with the battery. Insufficient voltage from an aging or weak battery is a frequent cause of underwater light failures, especially on boats that have been storing power for extended trips. Make sure your boat's battery is fully charged or, if necessary, test the voltage using a multimeter. Keep an eye out for any significant drops in voltage once you've turned the lights on. If the voltage drops too low, it’s likely time to replace the battery.
When it comes to common issues like fixing power supply problems, basic steps such as checking the fuse, connections, battery, and grounding can often save the day. Don’t dive too deep into more complex fixes until you’ve ruled out the fundamentals. Think of it as checking the fuel before you blame the engine – keeping the flow of power smooth is essential for a bright and safe boating experience on the water.
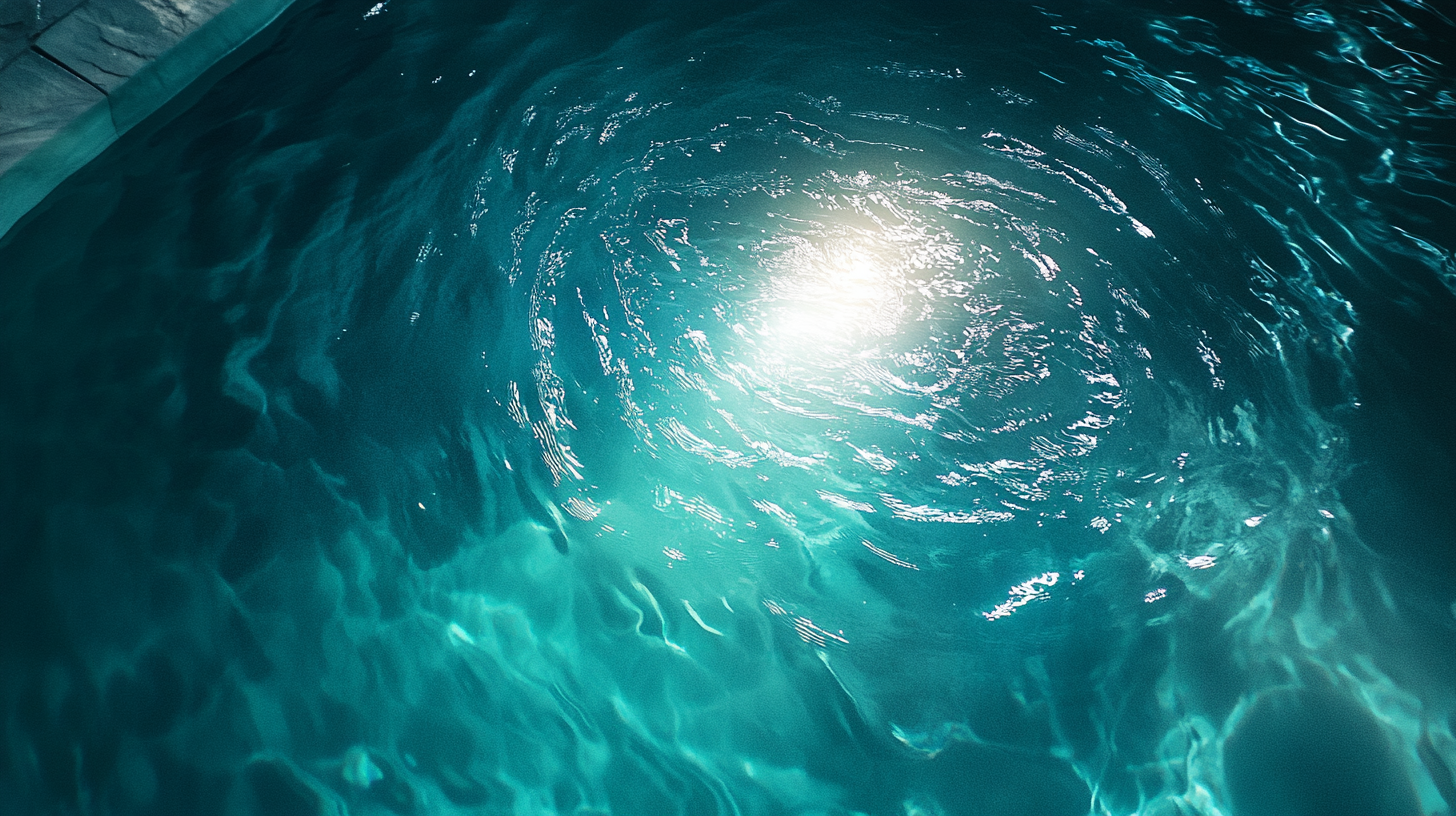
Resolving water ingress issues
Water ingress is a major concern when it comes to underwater lights. Despite what you'd expect from something that’s literally designed to be submerged, not all underwater lights are completely immune to water getting inside. If moisture sneaks into the housing, you could be dealing with anything from dim lights to complete failure. Waterproofing technology has come a long way, but over time, wear and tear, temperature fluctuations, or even improper installation can break the light’s seal, letting water in.
When troubleshooting water ingress, the first step is to visually inspect the light housing. Look closely for any cracks or gaps in the seal or lens. Tiny fissures might not seem like a big deal at first, but on a boat where you're constantly surrounded by water, even the smallest breach can become a major problem. Most underwater lights are equipped with O-rings or gaskets designed to protect against water intrusion. Over time, these parts can degrade due to UV exposure or saltwater corrosion. A degraded O-ring or gasket will no longer create a proper seal, which allows moisture to start working its way in. Replacing these seals is a relatively quick and affordable fix, and it can save you from much bigger headaches down the line.
Another common issue that can lead to water ingress is improper installation. Make sure the light is mounted securely and correctly. Even if the light housing itself is well-designed, poor installation can lead to leaks. For instance, overtightening a light can warp the gasket, while not securing it enough may leave gaps that allow water in. Pay special attention to the tightening instructions and torque specifications provided by the manufacturer to ensure your lights are both secure and watertight.
If water has already managed to invade your underwater lights, there’s a good chance you’ll notice condensation building up inside the lens. This is a dead giveaway that moisture has penetrated the housing. Try opening up the light and allowing it to dry thoroughly. If any electrical components seem rusted or corroded, they may need replacing. Keep in mind that excess moisture can quickly lead to permanent damage, so don’t delay in addressing any leaks. A proactive approach is one of the best ways to keep your underwater lights shining brightly – no one wants to deal with a sudden light failure while they’re out on the water enjoying a beautiful night of boating.
In some cases, investing in waterproof marine sealants or adhesives can help reinforce the protective seals around your lights. Just be sure to choose a marine-grade, UV-resistant product that can handle the wear and tear of boating life. Prevention really is key when it comes to avoiding water ingress issues, so regularly inspect your lights and take action as soon as you notice any signs of wear.
Dealing with flickering or dim lights
If you're experiencing flickering or dim lights, it can instantly ruin the ambiance you’re aiming to create with your underwater boat lights, not to mention act as an early warning sign that something isn’t quite right. Before you start replacing parts or going into full panic mode, there are a few troubleshooting steps you can take to resolve the issue and get your lights shining brilliantly again.
First things first, flickering or dim lights are often tied to voltage fluctuations. Your lights require a consistent power supply, and when that power is unstable, the performance of your lights will suffer. One of the most common causes is a weak or dying battery. If your battery is not delivering sufficient power, your underwater lights may flicker or appear dim. To check this, start by testing the battery and ensuring it’s fully charged. You can use a multimeter to measure the voltage, and if it's falling short of the lights' requirements, a recharge—or even a replacement—may be necessary.
Another common culprit for flickering or dimness is faulty wiring. Loose or corroded connections can interfere with the electrical flow, causing inconsistent power to your lights. Over time, wiring can degrade, especially in the harsh, saltwater environment many boats face. Make sure to visually inspect all wiring connections for any signs of corrosion, fray, or looseness. If you spot any issues, clean the connections with a wire brush and dielectric grease to restore a stable connection. If the wire itself looks compromised, it might be time to replace it entirely.
If wiring and power supply don’t seem to be the issue, the next step is checking the light bulbs themselves. LED underwater lights are typically more reliable than their halogen counterparts, but even LEDs can fall victim to wear and tear. Check for any signs of burnt-out or degraded bulbs. Fortunately, swapping out an LED bulb is generally quick and easy—and can immediately bring back the brightness you’ve been missing.
There’s also the possibility that flickering is a result of interference caused by other electronics aboard the boat. Modern boats are filled with gadgets and other electrical devices that can sometimes cause minor disruptions in the power flow. If you suspect interference from other equipment, try switching off unnecessary electronics to see if it eliminates the flickering. Additionally, engaging in proper grounding of both the lights and other devices can help mitigate this problem.
One of the lesser-known but still common issues behind flickering lights is heat. Underwater lights are designed to operate submerged in water—this helps keep them cool. If they’re not fully submerged, they can overheat, leading to reduced brightness or flickering as they struggle to maintain performance. Always ensure that the lights are installed at the right depth to remain fully submerged during operation.
Lastly, dim underwater lights aren't always a sign of trouble—sometimes it’s simply that the lenses are dirty. Marine environments are full of algae, barnacles, and other debris that can gather on the lens, blocking a significant portion of the light. Regular cleaning of your underwater lights' lenses is a must to keep them shining bright. A little maintenance can work wonders in making sure that your lights are functioning at full capacity.
In sum, when troubleshooting flickering or dim lights, approach the situation in a methodical manner. By checking the power supply, inspecting the wiring, evaluating the bulbs, and ruling out electronic interference or overheating, you’ll likely pinpoint the cause and resolve the issue. It’s all part of keeping your boat well-maintained and ready for smooth sailing—and shining—every time you hit the water.
Fixing LED color inconsistencies
LED color inconsistencies can be frustrating, especially if you were expecting your underwater lights to emit a specific hue, only to find they’re off-color or shifting between shades. While LED technology is highly reliable, there are a few common issues that could cause your underwater boat lights to experience irregularities in color output. When troubleshooting these problems, it’s important to start with the basic factors that could influence LED performance before diving into more complex issues.
The first thing to check is your power supply voltage. As LEDs are sensitive to fluctuations in voltage, improper power can lead to distorted colors. If your LEDs are receiving too much or too little current, they might display the wrong colors or shift randomly. Begin by testing the voltage at the input side of your lights using a multimeter. Most underwater LED lighting systems are designed to operate within a specific voltage range, typically 12 or 24 volts. If the voltage is outside of this range—even slightly—it could lead to color inconsistencies. Ensuring the power supply is delivering the right voltage can often resolve the issue immediately.
Another factor to consider is the controller or driver, particularly in multicolor LEDs. RGB or RGBW lights rely on a driver or controller unit to mix different colors of LED diodes (Red, Green, Blue—and sometimes White). If the controller malfunctions, it can cause miscommunication between the different diodes, resulting in inaccurate color display or random color shifts. Review your light system’s manual and check for diagnostic options to see if the controller can be easily reset. In some cases, firmware updates are available for digital control systems, so make sure your controller is up to date.
Wiring and connection issues are next on the list. Poor or loose wiring, or even corroded terminals, could lead to an uneven distribution of power across RGB diodes. For example, if one wire connected to the Red diode is loose, you might end up with purple light instead of white, because the Red channel isn’t receiving adequate power. Carefully inspect all wiring connections, ensuring that each lead is properly secured and free of corrosion. Replacing damaged wires or using marine-grade, salt-resistant electrical connectors when necessary can help bring the colors back to normal.
Environmental conditions such as extreme temperatures and long-term exposure to saltwater could also influence LED color performance. LEDs, particularly high-quality marine-grade ones, are designed to withstand these challenges, but prolonged exposure can degrade some components over time. Inconsistent lighting often begins to occur when moisture or particulate matter enters the control unit or light housing. If the units aren't properly sealed or exposed to excessive wear, water ingress can short out specific components responsible for color output. Carry out a thorough inspection of the housing to ensure there are no cracks or leaks. Applying waterproof sealant or replacing weakened gaskets can also prevent future issues.
Additionally, if your underwater lights have replaceable bulbs, the inconsistency might be a result of mismatched or aged LEDs. Over time, LED lights begin to degrade, and the degradation rate may not be equal across the individual diodes. This could cause one color (such as blue) to dim or distort faster than the others, leading to unnatural color output. In that case, it’s worth considering replacing the bulbs or the entire lighting unit if the degradation has noticeably impacted performance.
Check if the lights have any software-driven settings controls. Many modern LED lighting systems come with customizable color settings, often controlled via apps or remote control units. Human error or accidental changes in these settings could lead to unintentional color variations. Resetting the lights to their factory settings may straighten out the issue if a configuration mishap is to blame.
Lastly, remember that sometimes the perceived color inconsistency isn't due to the light’s fault at all but is related to buildup on the lens. Accumulation of algae, grime, or marine organisms on the lens can filter or alter the projection of the LEDs. This is especially common in underwater lights that aren’t cleaned regularly. Regularly cleaning the lenses will keep colors sharp and clear, ensuring that you're seeing the intended hue in all its brilliance.
In fixing color inconsistencies, a methodical approach that includes checking the power supply, controllers, wiring, environmental impacts, and cleaning the lenses will generally help resolve most issues. Investing in quality materials and performing routine maintenance will further help to maintain the consistent colorful underwater glow you desire.
Preventing corrosion and material damage
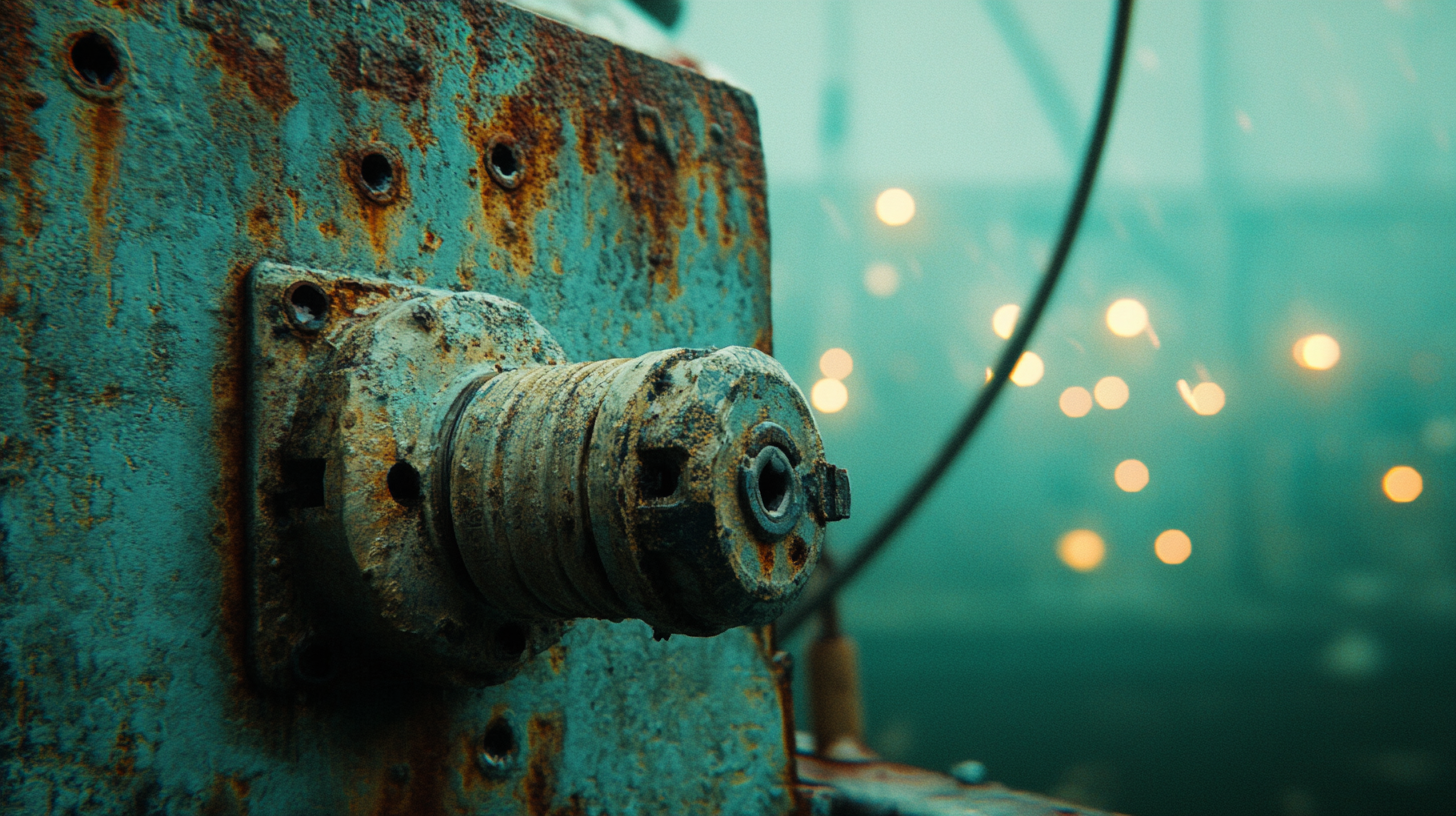
One of the top priorities when it comes to maintaining underwater boat lights is preventing corrosion and material damage. Since your lights are submerged in water—often salt water—that naturally creates an environment filled with substances that encourage rust, corrosion, and general wear and tear. The good news is that, with the right care and regular maintenance, you can extend the life of your underwater lights and avoid costly replacements. Prevention is always easier and more affordable than repair, so it’s well worth the time.
The primary challenge with underwater lights is the constant exposure to saltwater, which is incredibly corrosive over time. Stainless steel, bronze, and anodized aluminum are common materials used for marine-grade underwater lights since they’re designed to resist corrosion. However, even the toughest materials will degrade if neglected or improperly maintained, especially in a marine environment. One way to combat saltwater corrosion is by regularly washing your boat and underwater lights with freshwater. A quick rinse after each outing can go a long way in preventing salt and mineral deposits from clinging to the fixtures and causing corrosion. After rinsing, make sure to thoroughly dry your lights, as water left sitting on the surface can speed up the oxidation process.
A good preventative measure is the use of anti-corrosion sprays and marine-grade protectants. These sprays form a protective barrier that helps to shield metal surfaces from the corrosive effects of saltwater. Try to choose a product that is specifically formulated for both marine environments and the materials your lights are made from. These sprays aren’t a one-time solution though—you’ll need to reapply them regularly to keep up the effectiveness. Incorporate this into your routine maintenance, especially after extended exposure to saltwater. Also, avoid over-tightening screws or bolts when installing lights, as this can sometimes strip protective coatings or leave sensitive material exposed, creating the perfect condition for corrosion to take hold.
In addition to corrosion, the buildup of marine growth like algae, barnacles, and other oceanic debris on your lights can lead to material damage or poor performance. This is particularly problematic because the accumulation of organic material not only dims the lights but also increases the risk of overheating and electrical failures. To prevent this, habitually clean your lights and the surrounding area. While scrubbing the surface to remove buildup, be sure to use a gentle brush or soft cloth to avoid scratching or damaging the lens—or even worse, wearing down any protective coatings on the light housing.
Some boaters opt for “fouling release” coatings on their underwater lights, which are specifically designed to prevent living organisms from gripping onto the surface. While these coatings do require occasional re-application, they can save you time and hassle because they make it significantly harder for marine life to attach to the fixtures in the first place. These coatings are non-toxic and environmentally friendly, which can be especially important if you’re committed to minimizing your boat’s environmental impact.
Electrical systems are also highly vulnerable to corrosion, and when it comes to troubleshooting common issues with underwater lights, keeping your wiring and connections safe from rust is just as important as maintaining the light housings themselves. Saltwater can corrode electrical connections faster than you might expect, interrupting the electrical flow and damaging the circuit. To prevent this, employ marine-grade, waterproof connections and heat-shrink tubing to protect your wiring. If possible, you can also use dielectric grease on connections to add yet another barrier against moisture intrusion. Keep an eye on any exposed metal parts where wiring is connected, and if there’s any evidence of corrosion developing, address it immediately by cleaning and resealing the affected areas.
Galvanic corrosion is another issue that can affect the longevity of your underwater lights. This occurs when two dissimilar metals come into contact with each other in seawater, creating an electric current that accelerates the corrosion process. This often damages sensitive components, such as metal housings on underwater lights. To prevent galvanic corrosion, you should check that your lights are properly grounded and, if necessary, install sacrificial anodes. These anodes will corrode in place of the important metal parts, thereby protecting your lights and other hull components from premature degradation. These are especially helpful if your boat is docked for long periods, as it limits the risk of damage while your boat is stationary.
In short, preventing corrosion and material damage to your underwater boat lights simply requires regular maintenance and attention to detail. By keeping up with freshwater rinses, using protective sprays, employing proper anti-fouling methods, and safeguarding the electrical system, you’ll ensure your lights stay vibrant and continue adding that atmospheric glow to your boating adventures. Remember, a little bit of routine maintenance beats troubleshooting in a crisis—especially when you're out on the water!