Avoid these common mistakes when installing underwater boat lights

When it comes to underwater lights, selecting the appropriate type is crucial for both aesthetics and functionality. A common mistake people make is opting for lights that are not suitable for their specific boating needs. There are several factors to consider, such as the color and brightness of the lights, as well as their energy efficiency. LED lights, for instance, are a popular choice due to their longevity and low power consumption.
Another important aspect is the material of the lights. Stainless steel or bronze housings are ideal as they withstand the harsh underwater environment better. Aluminum may corrode quickly, leading to costly replacements. Moreover, always check the IP (Ingress Protection) rating; for underwater lights, an IP68 rating is preferred as it indicates complete protection against water ingress.
Taking time to gather installation tips can save you a lot of trouble down the line. Integrating lights into your boat’s existing electrical system requires careful planning. Consulting with professionals or doing thorough research can make the difference between a smooth installation and a series of headaches. Remember, the right choice not only illuminates the water but also enhances safety and your overall boating experience.
Ensuring proper waterproofing
When it comes to installing underwater lights, ensuring proper waterproofing is not just a preference, but an absolute necessity. A common mistake that many boating enthusiasts make is underestimating the importance of high-quality seals and gaskets. Water ingress can cause significant damage to the lights, leading to electrical failures and even posing a safety risk.
One important installation tip is to use marine-grade sealant specifically designed for underwater applications. These sealants provide a water-tight barrier and resist degradation from saltwater. Applying a generous bead of sealant around the base of the light fixture and where the wires enter the housing can help maintain a dry and secure connection. Be meticulous during this step; a small gap can have big consequences.
Another critical element is the choice of connectors and cables. Using waterproof connectors and heat-shrink tubing can effectively shield the wiring from moisture. DIY boating enthusiasts often make the mistake of using standard electrical tape, which may hold up initially but tends to deteriorate over time, allowing water to seep through.
It’s also advisable to periodically inspect the waterproofing components. Seals and gaskets can wear out or become brittle, and replacing them at the first sign of wear can prevent expensive repairs later. Some boaters use dielectric grease to coat the contacts and connectors, offering an additional layer of protection.
Remember, while many aspects of boat maintenance can involve a learning curve, paying close attention to waterproofing during the installation of underwater lights is straightforward but crucial. By focusing on creating a reliable waterproof barrier, you not only enhance the longevity of your lights but also ensure a safer and more enjoyable boating experience.
Avoiding wiring mishaps
Wiring mishaps are among the most common errors made by both novice and experienced boaters when installing underwater lights. An often-overlooked aspect is the importance of using marine-grade wiring. Ordinary wiring may not stand up to the rigors of the marine environment, leading to shorts or failures that can be both inconvenient and dangerous. Make sure to select tinned copper wires, which resist corrosion and have better conductivity over time.
Another prevalent mistake is improper wire gauging. Choosing a wire gauge that is too small for the current load can result in overheating and potential fire hazards. Refer to your light manufacturer’s recommendations and ensure you use wires that can handle the electrical load without heating up. Additionally, running the wires through conduit can provide extra protection from physical damage and chafing.
One of the most crucial installation tips involves securing the connections tightly. Loose connections can cause intermittent power issues and even sparking, which are particularly hazardous around water. Use marine-grade crimp connectors and secure them with a proper crimping tool to ensure a solid and reliable connection. For DIY boating enthusiasts, investing in quality tools and connectors can make a world of difference.
Be mindful of wire placement as well. Avoid running wires near high-heat sources like engines or exhaust components. Heat can degrade the wire insulation over time, leading to potential shorts and failures. Also, keep the wires away from areas of high foot traffic or where they might be accidentally damaged or disconnected.
Check for any signs of wear or corrosion during routine inspections. Saltwater can be particularly harsh on electrical systems, so periodic checks can help catch issues before they turn into significant problems. Applying dielectric grease to the connections can also provide an additional layer of protection against moisture and corrosion.
Paying careful attention to the wiring aspects of installing underwater lights can save you from common mistakes that lead to electrical failures. Whether you are a seasoned mariner or new to the world of DIY boating, taking the time to use the right materials and techniques ensures that your underwater lights will operate safely and effectively for years to come.
Correct placement and installation
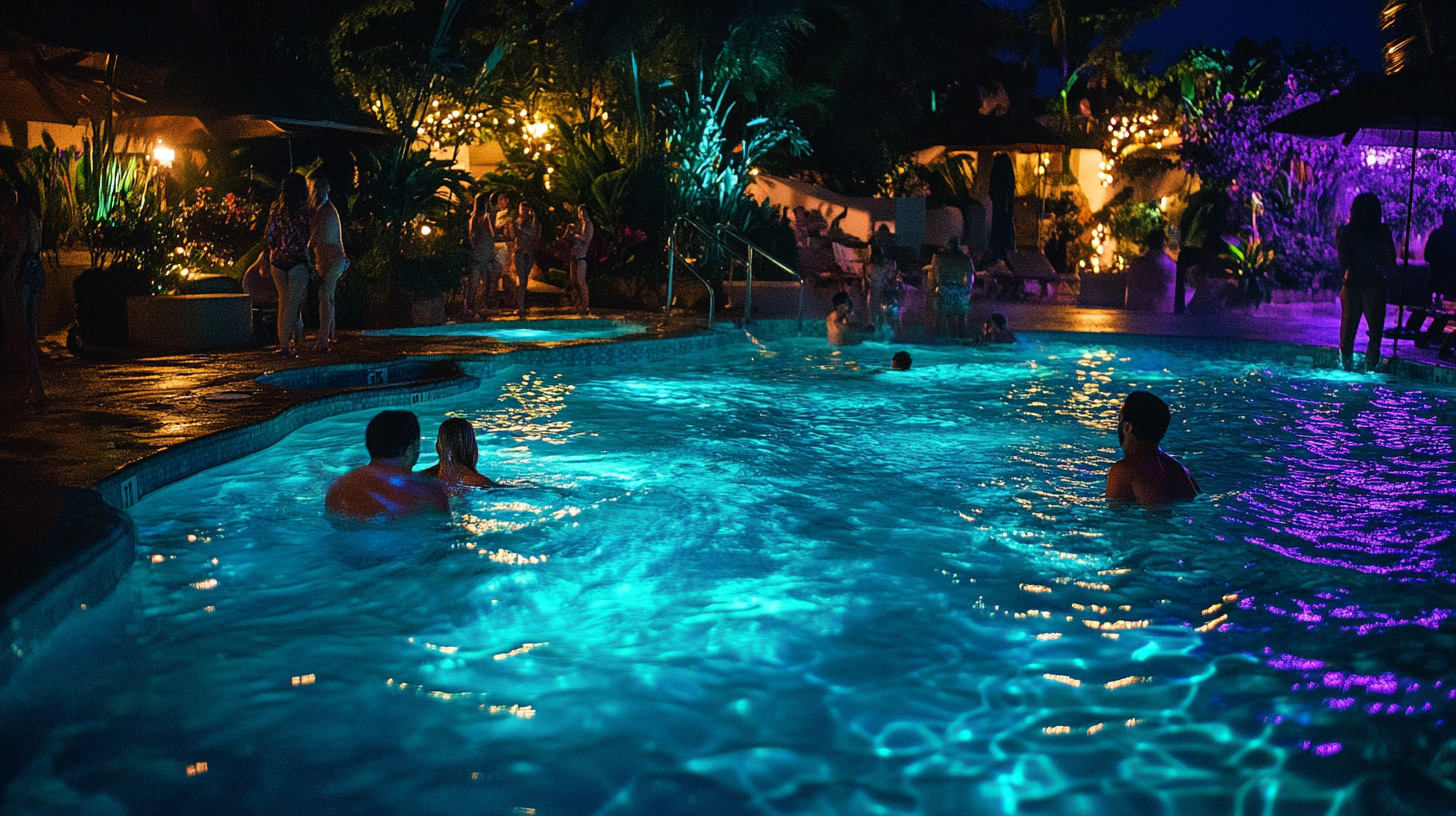
Proper placement and secure installation of underwater boat lights are fundamental aspects that can influence both performance and durability. One of the most common mistakes is positioning the lights too high or too low. Placing the lights just below the waterline ensures maximum illumination and minimizes drag. Incorrect placement can lead to insufficient lighting, affected maneuverability, or increased fuel consumption due to drag resistance.
Another frequent error is not aligning the lights correctly. For optimal lighting, align the lights to point directly downward or slightly outward, rather than straight ahead or backward. This orientation enhances underwater visibility and creates a captivating effect without blinding other vessels. Incorrect alignment can result in uneven lighting and reduced aesthetic appeal.
When installing the lights, it’s crucial to follow the manufacturer’s recommendations meticulously. Use appropriate brackets, screws, and fasteners made from corrosion-resistant materials such as stainless steel. Substandard hardware can deteriorate quickly in a marine environment, leading to loose fittings and potential water ingress.
Ensuring a secure attachment to the hull is another critical installation tip. Use a marine-grade adhesive along with the fasteners to create a watertight seal and rigid attachment. Improper installation can lead to vibrations loosening the fixtures, allowing water to enter and damage the system.
Ventilation around the light fixtures is often overlooked. Even though these are underwater lights, they can generate heat. Ensuring there is enough space around the fixtures can prevent overheating, which could affect their brightness and lifespan.
Additionally, always cross-check local regulations and guidelines about underwater lighting. Some areas have specific rules regarding light intensity, color, and placement. Non-compliance can result in fines or the need for costly adjustments.
Adhering to recommended depth and avoiding excessively deep installations can also extend the life of your lights. Higher water pressure at greater depths can exert more stress on the light seals, increasing the likelihood of water ingress over time.
Lastly, following the correct sequencing during installation can prevent common mistakes. Typically, experts suggest installing the mounting brackets first, running the wiring through second, and then installing the lights as the final step. This sequence ensures all components are correctly aligned and secured, minimizing the risk of error.
Implementing these installation tips can save you headaches down the line and ensure that your underwater lights provide reliable and effective illumination while enhancing both the safety and aesthetics of your boat. For DIY boating enthusiasts, taking the time to get the placement and installation right is well worth the effort.
| Key Factors | Recommendations |
|---|---|
| Placement Height | Just below the waterline for optimal lighting |
| Light Alignment | Directly downward or slightly outward |
| Mounting Hardware | Use corrosion-resistant materials |
| Attachment Security | Combine marine-grade adhesive with fasteners |
| Regulatory Compliance | Check local regulations for light intensity, color, and placement |
| Heat Ventilation | Ensure enough space around fixtures to prevent overheating |
| Installation Sequence | Follow manufacturer-recommended steps for installation |
Regular maintenance and inspection
Regular maintenance and inspection of your underwater lights are crucial to ensure their longevity and performance. One of the biggest mistakes DIY boating enthusiasts make is neglecting these essential tasks, which can lead to unexpected failures when you least want them. Imagine planning a serene evening out on the water only to find your underwater lights flickering or not working at all.
One key maintenance tip is to frequently check the light fixtures and their housings for any signs of damage or wear. Saltwater, algae, and marine debris can take a toll on the fixtures, gradually affecting their efficacy. Cleaning the lights with appropriate marine-grade cleaners not only keeps them looking good but also ensures they function properly. Many boating lovers make the mistake of using household cleaners, which can be too harsh and potentially damage the seals and housings.
Inspecting the electrical connections for corrosion or looseness is another critical step. Even if you followed all the installation tips and used marine-grade crimp connectors, the marine environment is harsh and can cause deterioration over time. Applying dielectric grease to the connections can add a layer of protection against moisture and salt, enhancing the durability of your underwater lights. During inspections, also take note of any frayed wires or insulation damage, which should be addressed promptly to prevent shorts or electrical failures.
Another common mistake is ignoring the seals and gaskets that keep water from infiltrating the light housing. These components can become brittle, crack, or wear out over time. Regularly checking these seals and replacing them at the first sign of wear can save you a lot of frustration and expense down the line. Opting for high-quality, marine-grade seals can extend the period between replacements.
Testing the lights periodically, both while docked and out in the open water, ensures they are functioning correctly. Simply turning them on for a few minutes every couple of weeks can help you notice any issues early. This proactive approach allows you to make necessary adjustments or repairs before they turn into significant problems, keeping your underwater lights reliable all season long.
Finally, it’s helpful to maintain a log of your maintenance activities. Documenting when you last inspected or cleaned the lights, replaced seals, or applied dielectric grease helps you stay on top of these important tasks. A well-maintained record ensures that you won’t overlook regular maintenance intervals and provides a useful reference should you encounter any issues.
By integrating these maintenance and inspection routines into your boating habits, you can avoid the common mistakes that lead to underwater light failures. Consistent care not only enhances the safety and functionality of your boat but also adds to the enjoyment of your nautical adventures.