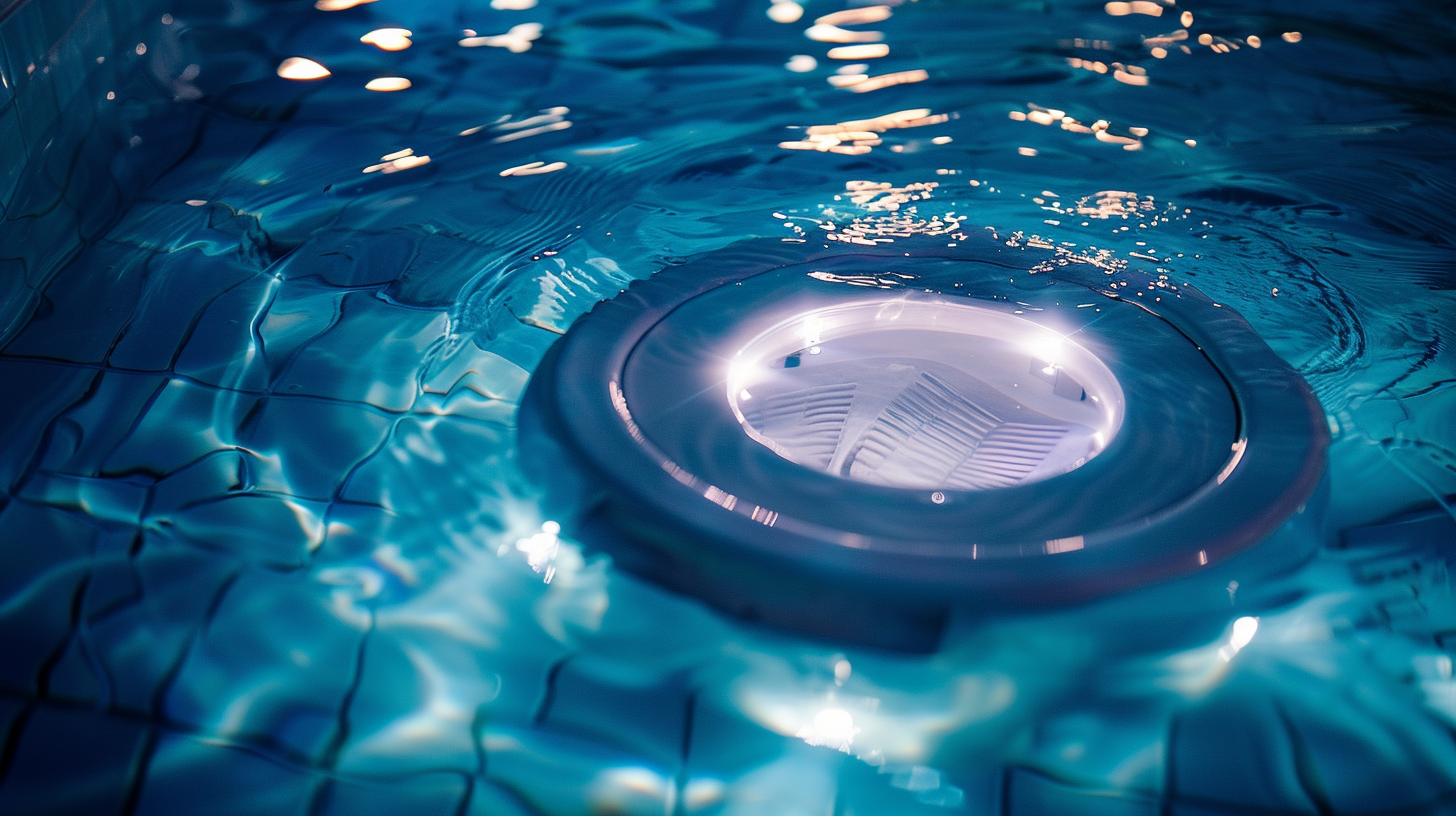
Troubleshooting common issues with underwater pool lights
Dealing with underwater pool lights can sometimes feel like navigating a maze, especially when you encounter unexpected dimming, flickering, or complete darkness in the pool. Understanding the root of these common issues is crucial for effective troubleshooting. One frequent problem is a malfunctioning bulb, which may have simply burnt out due to extended use. Though it seems obvious, this is one of the first things you should check.
Another typical issue involves the power supply. If the lights aren’t working at all, there might be a disruption in the power line or an issue with the connections. Poor wiring or a tripped circuit breaker can also lead to erratic lighting behavior.
Additionally, corrosion due to water exposure is a major concern that often leads to faulty lights. Corrosion can affect not only the bulb but also the fixture and electrical components, causing poor contact and malfunction. Sometimes, the problem isn’t the light itself, but the seal around the fixture. A compromised seal can lead to water leaks, damaging both the bulb and the electrical system.
By recognizing these common issues, you can streamline your troubleshooting process and bring the sparkle back to your pool in no time.
Checking the power supply and wiring
To ensure your underwater pool lights are functioning properly, begin by checking the power supply and wiring. Start with the basics: head to the circuit breaker and verify if any switches have tripped. This is a common issue that can cause the lights to go out. Flip the breaker back on and see if your pool lights return to their watery glow.
Next, inspect the pool’s electrical panel. Look for any signs of wear, rust, or loose connections. Over time, the humidity from the pool area can cause corrosion, which disrupts the flow of electricity. Tighten any loose screws and clean contacts with a non-conductive cleaner to remove any buildup. If you’re handy with a multimeter, you can measure the voltage at different points in the circuit to ensure electricity is flowing correctly.
Don’t overlook the wiring itself. Follow the wires from the power source to the light fixture, checking for any visible damage like nicks, cuts, or frays. Animals, lawn equipment, or even simply age can deteriorate wiring. If you find damaged wires, it’s crucial to replace them immediately to prevent further issues or potential hazards.
In some cases, the problem might not be visible. Faulty wiring hidden within conduits can still disrupt your lights. Feel along the wire for any inconsistencies or soft spots that may indicate broken or weak points inside. For such hidden issues, it might be best to consult a professional electrician who can safely diagnose and fix intricate electrical problems.
Don’t forget to inspect the connections at the light fixture itself. Water can seep into improperly sealed connections, causing shorts and malfunctions. Ensure that all connections are dry and secure, and reapply waterproof sealant if necessary. Good maintenance here can make a huge difference in keeping your pool lights functional.
Regularly checking the power supply and wiring can save you a lot of hassle in the long run. By maintaining these components in top shape, you can avoid many common issues and keep your pool illuminated for all those late-night swims and relaxing evening dips.
Replacing burnt-out bulbs
When it comes to swapping out a burnt-out underwater pool light bulb, the job might sound daunting, but it’s actually manageable with a bit of patience and care. To start, ensure you have the right replacement bulb. Verify the wattage and type of bulb required for your particular light fixture. Refer to your pool light’s manual or check online resources if you’re unsure about the specific bulb needed.
First, turn off the power to the pool light at the circuit breaker. Safety is paramount here; working with electricity near water can be dangerous. Confirm the power is off by testing the light switch – if the light does not come on, you’re good to go.
Next, you’ll need to remove the light fixture from the pool wall. Most fixtures are held in place with a single screw at the top – generally referred to as the “pilot screw.” Unscrew this carefully and store the screw in a safe place to avoid losing it. Gently lift the fixture out of its niche. There should be enough excess cable to bring it up to the pool deck without straining the wire.
Once the fixture is on the deck, locate the lens cover, typically held in place by a series of screws or a clamp. Remove these fasteners and take off the lens cover to reveal the bulb inside. Take your time here; you don’t want any water to seep into the fixture as you work.
Carefully unscrew the burnt-out bulb. Some types of bulbs need a gentle push and twist to release from the socket, so be attentive to the specific mechanism of your pool light. Before inserting the new bulb, inspect the socket for any signs of corrosion or debris. Clean it gently if necessary, taking care to avoid damaging the socket.
Install the new bulb by reversing the removal process. Make sure it’s securely in place, but do not over-tighten, as this can crack the glass and cause instant burnout. Once the new bulb is fitted, reassemble the lens cover and ensure the gasket – the rubber seal – is correctly positioned to prevent water from leaking into the fixture. Tighten the screws or clamp firmly, but without overtightening, to ensure a watertight seal.
Finally, carefully place the fixture back into its niche in the pool wall and reattach with the pilot screw. Double-check that the fixture is securely attached and all screws are tight. Turn the power back on at the circuit breaker and test your new bulb. If it lights up, congratulations! You’ve successfully navigated this common troubleshooting task. If not, there could be other underlying issues requiring further investigation, such as problems with the power supply, wiring, or the fixture itself.
Replacing pool light bulbs may appear tricky, but these troubleshooting steps simplify the process. It’s an essential skill to learn, ensuring your pool remains a shimmering focal point for evening swims and poolside leisure. Plus, knowing how to address common issues like burnt-out bulbs can save you from unnecessary expenses and keep your pool lights glowing all season long.
Inspecting the light fixture for leaks
Inspecting the light fixture for leaks is crucial when troubleshooting common issues with pool lights. Water seepage can be a major cause of malfunction and even safety hazards. To start, you need to conduct a visual inspection. First, power off the pool lights from the circuit breaker to eliminate any risks of electric shock. Ensure the pool area is well-lit to allow for a thorough examination.
Focus on the lens and the housing of the light fixture. Look for any visible cracks, gaps, or wear in the sealant. Even a minor imperfection can allow water to enter the fixture, shorting out the electrical components and causing the lights to fail. If you detect any signs of damage, it’s essential to replace the seals or apply a new layer of waterproof sealant.
If the visual inspection doesn’t reveal any obvious issues, you can perform a more comprehensive leak test. This involves removing the light fixture from its niche in the pool wall. With the appropriate tools and caution, unscrew the pilot screw and carefully lift the fixture to the pool deck. Ensure there is enough slack in the wiring to prevent any strain.
Once the fixture is out, look closely at the gaskets and O-rings that create the watertight seal. These components can degrade over time, becoming brittle or deformed. Replace any compromised gaskets or O-rings promptly to restore the fixture’s integrity.
To further test for leaks, you can submerge the fixture in a container of water and observe for bubbles. This method is particularly effective for pinpointing tiny leaks that aren’t visible during a dry inspection. Here’s how you can do it:
| Step | Description |
|---|---|
| 1 | Fill a container large enough to submerge the light fixture with water. |
| 2 | Ensure the fixture is dry before submerging to avoid false positives. |
| 3 | Submerge the fixture slowly into the container. |
| 4 | Look for a continuous stream of bubbles, indicating a leak. |
If bubbles are present, you have identified a leak. Any part of the fixture that shows evidence of water ingress should be inspected further and repaired or replaced as needed.
After addressing the leaks, reassemble the fixture carefully. Ensure the gasket or O-ring is seated correctly to prevent future leaks. Tighten the screws evenly to avoid distorting the seal, but be careful not to overtighten and damage the components.
Reinstall the fixture back into its niche, making sure it fits firmly and securely. Turn the power back on at the breaker and test the lights. If they illuminate properly without flickering, you’ve successfully resolved the issue. If problems persist, there might be deeper electrical issues needing more advanced troubleshooting.
Maintaining a waterproof seal is essential for the longevity and safety of your underwater pool lights. Regular inspections and immediate repairs to any compromised components will keep your pool lights shining brightly and safely.
Testing and resetting the GFCI outlet
The GFCI outlet, or Ground Fault Circuit Interrupter, plays a pivotal role in maintaining the safety of your pool lights. It is designed to cut off the electrical flow instantly if it detects a ground fault, which is a deviation in the standard electrical path, potentially indicating that electricity is leaking to the ground. Ensuring that the GFCI outlet is functioning correctly can save you from both common issues and severe electrical hazards.
Begin by locating the GFCI outlet serving your pool lights—it’s typically near the pool area or within the main electrical panel. Before you proceed with any checks, ensure your hands are completely dry to avoid accidental shocks. Press the “Test” button on the GFCI outlet. This should automatically trip the outlet, indicated by a click sound as the “Reset” button pops out. If the pool lights go off, it means your GFCI outlet is successfully cutting off the power, as it should during a fault.
Next, press the “Reset” button to restore power to the pool lights. If they come back on, it means the GFCI outlet is functioning properly. However, if pressing the reset button does not restore power, or if the lights fail to go off when you press the test button, your GFCI outlet may be faulty and might need replacing. In such cases, consulting with an electrician is advisable.
In scenarios where the GFCI outlet continually trips, it is a signal of underlying issues. Possible reasons could range from water contaminating the light fixture, a fault in the wiring, or even a compromised lighting fixture. Conduct a thorough inspection of the pool lights, wiring, and connections to identify and resolve the source of the problem. Fixing these issues is crucial before attempting to reset the outlet again. By addressing these common troubleshooting steps, you can boost the longevity and safety of your pool lights.
Remember, regular testing of the GFCI outlet should be a part of your pool maintenance routine. Monthly checks can preemptively identify potential faults, giving you ample time to correct them before they escalate into more significant issues. Regularly performing these maintenance steps ensures your underwater pool lights remain both safe and functional, allowing for stress-free evening swims and poolside relaxation.
Maintaining your GFCI outlet in top-notch condition forms a cornerstone of safety in your pool environment. By staying proactive in your troubleshooting efforts, you not only extend the lifespan of your pool lights but also protect everyone enjoying the pool from potential electrical hazards.


