How to maintain your underwater pool lights

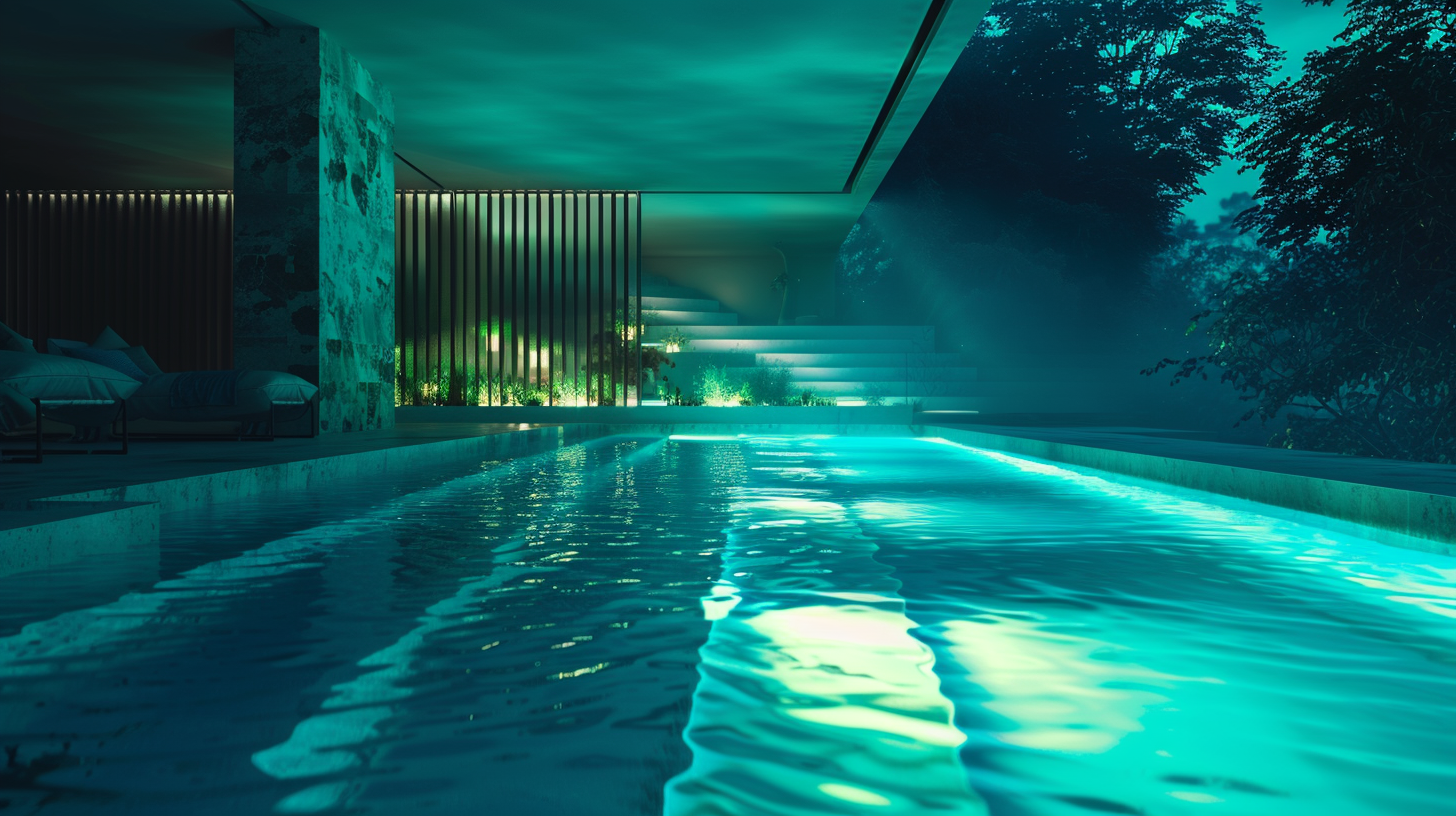
Imagine having a shimmering oasis right in your backyard every evening, with your pool lights casting a magical glow. But what exactly are these glowing wonders, and how do they work? These fixtures are specially designed to be submerged in water and are crucial for both aesthetics and nocturnal safety. They illuminate the water, enhancing the swimming experience and making your pool an inviting place even after the sun sets.
Underwater pool lights come in a variety of types, each with its own advantages. Traditional halogen lights are known for their warm, inviting glow, but they tend to consume more energy. On the other hand, LED lights are more energy-efficient and offer a spectrum of vibrant colors, turning your pool into an aquatic light show. Fiber optic lights are another option, providing soft, subtle illumination with the added benefit of easy maintenance—they don’t require direct water contact.
Understanding the technology behind these lights is also key to maintaining them. For instance, LED lights are made up of small, semiconductor-based diodes that emit light when an electrical current passes through them. These lights are usually encased in waterproof housings to protect the electrical components from water damage. Halogen lights use a filament encased in a glass tube filled with halogen gas, which produces light when heated. Knowing the intricacies of how your specific type of pool light functions will help you to better troubleshoot issues and keep them running smoothly.
Another important aspect to consider is the placement and installation of these lights. They are typically installed in niches built into the pool walls, allowing for even distribution of light and easy access for maintenance. The niche serves as a watertight housing that also assists in directing the light, amplifying its efficiency.
By understanding these fundamentals, you can make informed decisions to ensure your underwater pool lights remain in pristine condition, providing you with that enchanting nighttime ambiance. Ultimately, a deeper knowledge of these lighting systems enables you to better appreciate their value and enjoy the full benefits they offer for your aquatic haven.
Safety precautions for maintenance
Before diving into maintenance, it’s essential to prioritize safety. Working with electricity around water can be hazardous, so taking necessary precautions is non-negotiable. Start by ensuring that you turn off all power at the circuit breaker, not just the pool light switch. This step removes the risk of electrical shock, keeping you safe while you work underwater.
It’s also advisable to use a voltage tester to double-check that there is no electricity present before you begin any tasks. Trust us, double-checking can never be overkill when dealing with electricity and water. Wearing rubber-soled shoes and using insulated tools can add an extra layer of safety. These measures help to minimize electrical risk, making your pool light maintenance project safer.
Additionally, consider enlisting a buddy—having another person nearby can be immensely helpful, whether you need an extra hand, a tool, or immediate assistance in case of an emergency. Remember, it’s better to be safe than sorry, especially when working in an environment where water and electricity coexist.
Furthermore, if you’re unsure about any part of the maintenance process, it might be wise to consult a professional. Sometimes, DIY isn’t worth the potential risks. An experienced pool technician can conduct the maintenance safely and efficiently, ensuring your pool lights are in optimal condition.
Lastly, always handle light fixtures carefully. Glass, plastic, or other materials can become fragile over time, especially when exposed to pool chemicals and varying temperatures. Avoid any rough handling that could lead to cracks or breakage. By adhering to these safety precautions, you’re well on your way to maintaining your underwater pool lights without compromising on your well-being.
Tools and materials needed
Before you roll up your sleeves and get knee-deep into your maintenance project, gather all the necessary tools and materials first. Trust us, being prepared will save you from annoying trips back and forth to the garage. Here’s a handy checklist to get you started on maintaining your underwater pool lights:
First on the list is a high-quality voltage tester. This little device is crucial for your safety, helping you confirm that there’s no electrical current running to the lights before you begin. It’s a small but mighty tool that can save you from electrical mishaps.
Next, you’ll need a screwdriver set. Different light fixtures might have different types of screws—be it Phillips, flathead, or even hex screws. Having a comprehensive set ensures you’re ready for whatever type you encounter.
For those who have LED lights, a multimeter can also be very useful. This device helps you measure the electrical values like voltage, current, and resistance, troubleshooting any potential issues with your lighting circuit.
Don’t forget a sturdy pair of rubber gloves and safety goggles. These will protect your hands and eyes from any harsh pool chemicals or unexpected debris. Safety is paramount, especially when dealing with both water and electricity.
A replacement bulb is another must-have. If you’re swapping out old, dim bulbs for fresh, bright ones, make sure you choose the right type for your fixtures. Whether you’re using halogen or LED, ensure they are specifically designed for underwater use to maintain the watertight seal of your lights.
You’ll also require waterproof silicone or rubber gaskets. When you open up the light fixtures to replace a bulb or perform any maintenance, these gaskets ensure the seal is water-tight when you reassemble everything. They’re crucial for preventing water from seeping into the electrical components.
If cleaning is on your agenda, bring along a soft brush or sponge and a mild detergent. Avoid any abrasive materials or harsh chemicals that could damage the fixture or reduce its lifespan. A clean surface ensures optimal light output once you re-install the fixture.
For those dealing with corrosion or mineral buildup, a gentle descaling solution can be very effective. Apply it cautiously to the affected areas and scrub gently to remove any deposits, restoring the fixture to its original condition.
Lastly, a strong yet flexible pool light cord is essential, particularly if your current cord shows signs of wear and tear. Over time, cords can become fragile due to exposure to pool chemicals and varying water temperatures. Replacing the old cord can prevent electrical hazards and ensure the consistent operation of your underwater pool lights.
And there you have it! With these tools and materials at your disposal, you’ll be well-prepped to maintain your underwater pool lights and keep them shining brightly for many evening swims to come.
Cleaning and inspecting the lights
Ensuring your underwater pool lights are clean and in good working order is crucial for their longevity and performance. Begin by making sure the power supply is turned off at the circuit breaker to eliminate any risk of electric shock. After confirming the power is off, you can carefully remove the light fixtures from their niches in the pool wall.
Start by visually inspecting the lights for any visible signs of damage, such as cracks, rust, or discoloration. It’s also wise to check the wiring and connections. If you notice any frayed wires or corroded connectors, these will need to be addressed. When inspecting, don’t forget to check the gaskets and seals, as damaged seals can lead to leaks that could compromise the electrical components.
Next, it’s time to clean the light fixtures. Use a soft brush or sponge combined with a mild detergent to scrub away any dirt, algae, or mineral buildup that might have accumulated on the lens and housing. Avoid using abrasive materials or harsh chemicals, as these can scratch or otherwise damage the fixture. A gentle descaling solution can be applied to stubborn mineral deposits; just be sure to follow the manufacturer’s recommendations for use.
Pay special attention to the lens. Over time, the lens can become cloudy or stained, which will affect the quality of the light emitted. A clean lens ensures maximum light output, making your pool look its best after dark. Clean both the inside and outside of the lens thoroughly.
Once cleaned, allow the components to dry completely before reassembling. While drying, inspect the gasket for any signs of wear or damage. The gasket must be in good condition to maintain the watertight seal. If any part of the gasket appears compromised, replace it to avoid potential water ingress, which can damage the light fixture and cause electrical hazards.
After reassembly, re-secure the light fixture into its niche in the pool wall. Ensure that the fixture is properly aligned and seated to prevent any leaks. A poorly fitted light can cause water to seep in, leading to potential damage to the electrical components.
Once everything is in place and fastened securely, you can turn the power back on and test the lights. Make sure to stand clear of the pool when flipping the switch at the circuit breaker to avoid any unforeseen issues. Observe the lights closely to ensure they are functioning correctly. If the lights appear dim or flicker, recheck the connections and consider replacing the bulbs to ensure optimal performance.
By following these steps diligently, you can maintain your underwater pool lights, ensuring they remain in excellent condition and continue to create a magical ambiance in your pool area.
Replacing bulbs and fixtures
Replacing your pool light bulbs might seem like a daunting task at first, but it’s a fundamental part of maintaining your underwater pool lights and ensuring your nighttime swims remain vibrant and safe. Before you begin, make sure that the power to your pool lights is completely shut off at the circuit breaker. This step cannot be stressed enough—it’s crucial for your safety.
Start by gently removing the fixture from its niche. Depending on the model, you may need a screwdriver to loosen the screws that hold the fixture in place. Some fixtures have a clamp system or other fastening mechanism, so consult your owner’s manual if you’re unsure. Once the fixture is loose, you can carefully lift it out of the water. Remember to keep an eye on the cord to prevent any strain or damage.
Once you’ve removed the fixture, set it on a stable, dry surface where you can work comfortably. Here’s where the rubber gloves and safety goggles come in handy—safety first! Next, you’ll need to access the bulb. Most fixtures have a face ring secured by screws or clamps. Remove these to open up the fixture and expose the bulb. In some cases, you might also need to remove additional seals or gaskets.
With the face ring removed, you’ll have a clear view of the bulb. Grasp the bulb gently and twist it out of its socket—most pool lights use a simple twist-and-lock mechanism. Take note of the bulb type and wattage, as it’s essential to replace it with an identical one designed for underwater use. Using the wrong type can compromise the fixture’s watertight seal and even pose electrical hazards.
Before inserting the new bulb, inspect the socket for any corrosion or damage. A faulty socket can render even a brand-new bulb useless. If you spot any issues, it might be time for a professional inspection or replacement of the fixture. Assuming everything looks good, insert the new bulb into the socket and secure it by twisting it into place. Make sure it’s firmly seated but avoid overtightening, which can damage the bulb or socket.
Reassemble the fixture by replacing any seals or gaskets you removed earlier. These components are vital for keeping the fixture waterproof, so check that they’re in good condition. If they look worn or damaged, replace them. Reattach the face ring and secure it with screws or clamps. It’s crucial to ensure that everything is tightly sealed to prevent water from seeping into the fixture, which could lead to electrical failures or short circuits.
After the fixture is reassembled, it’s time to reposition it back into the niche. Carefully guide the cord back into place to avoid any kinks or tangles. Once the fixture is seated correctly, fasten it securely using the appropriate screws or clamps. Finally, double-check that everything is aligned and snug.
Once you’ve completed these steps and you’re confident everything is secure, you can turn the power back on at the circuit breaker. With your rubber-soled shoes still on, stand clear of the water as you flip the switch. Observe the newly installed bulb to ensure it lights up as expected. If it doesn’t, retrace your steps to check for any loose connections or revisit the troubleshooting guide in your owner’s manual.
By following these detailed steps, you’re not just replacing a bulb; you’re actively maintaining your underwater pool lights, ensuring they remain in top-notch condition. Not only will this help extend the lifespan of your pool lighting system, but it will also keep those enchanting nighttime swims both safe and aesthetically pleasing.